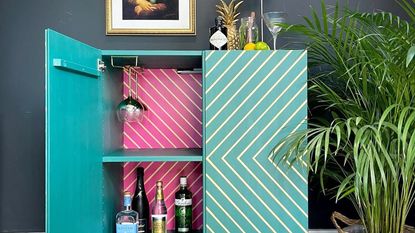
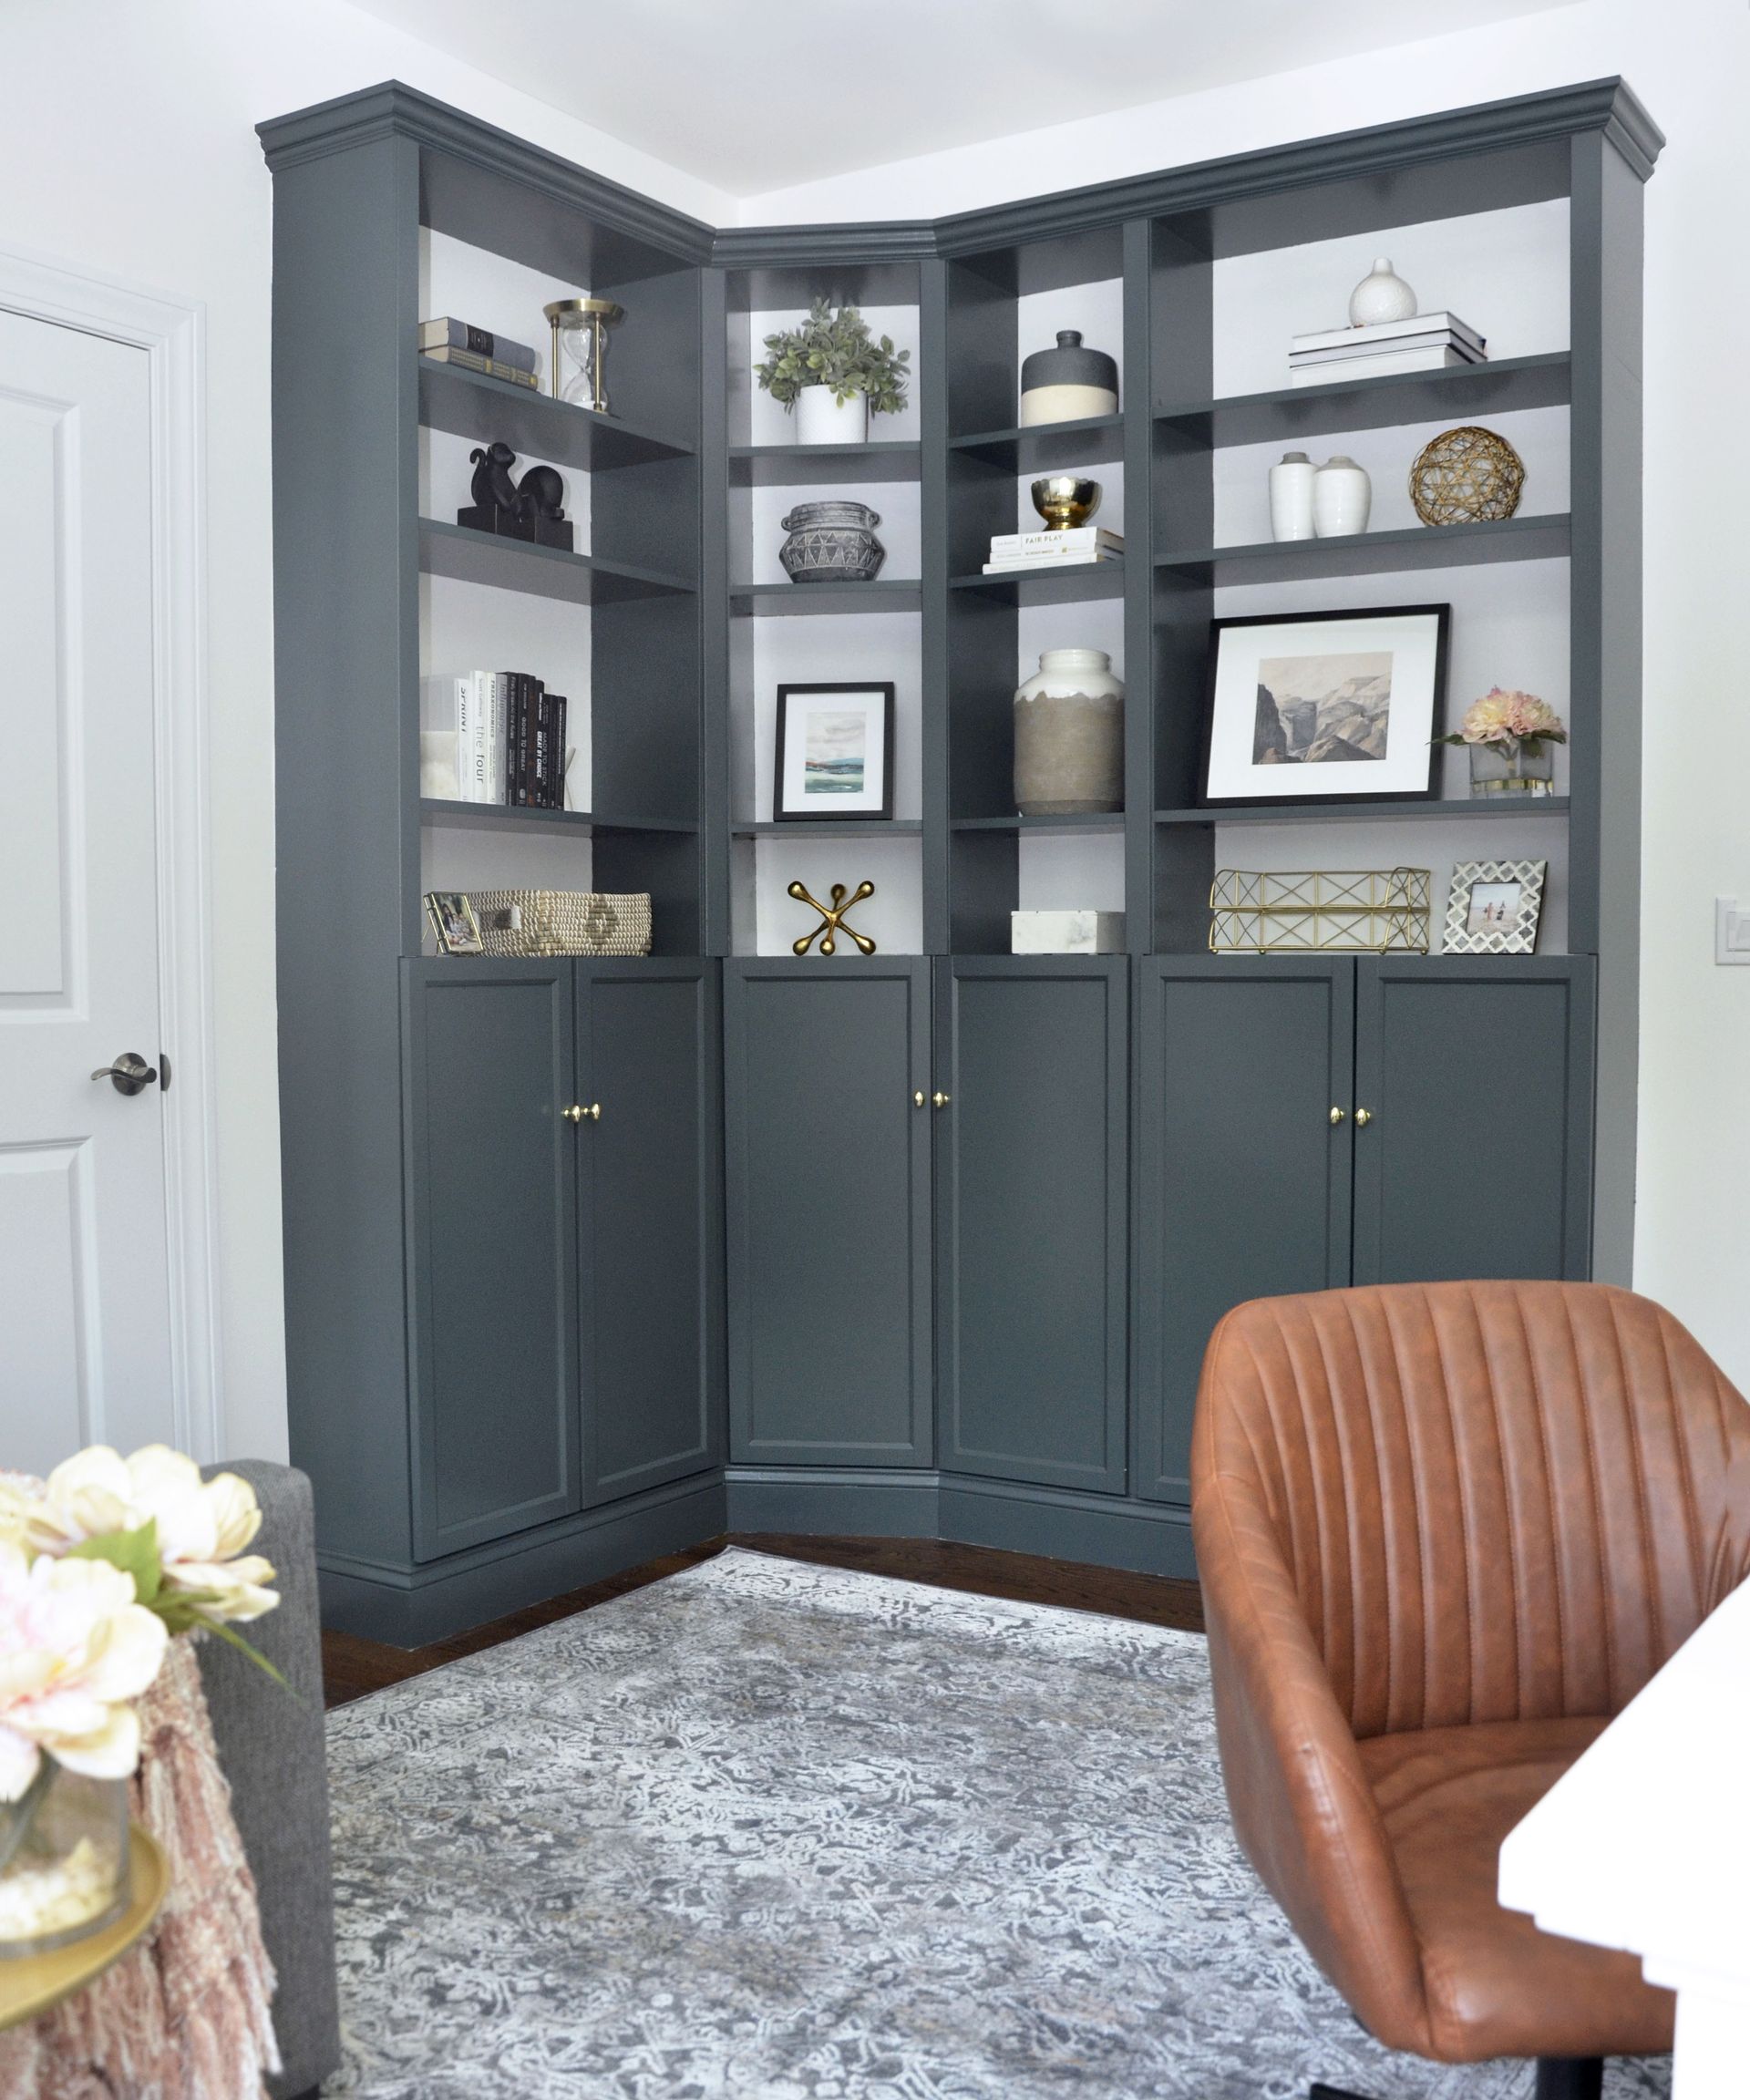
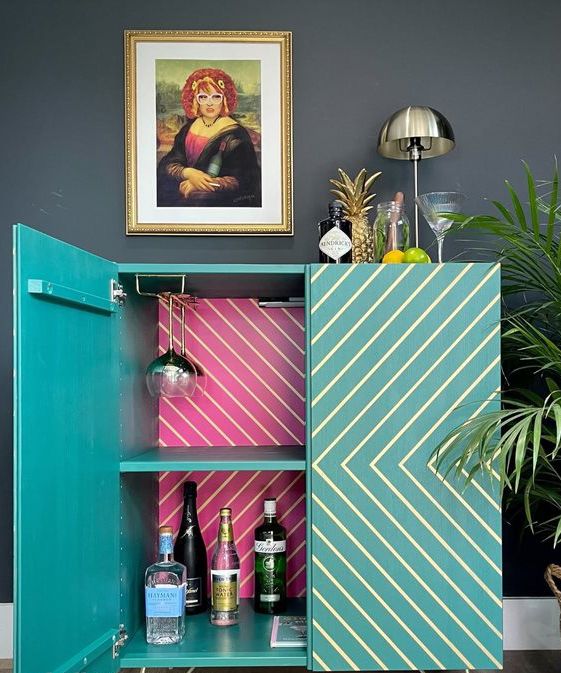
How to paint IKEA furniture – Designers share the five steps you need to remember
Laminated pieces are notoriously tricky to transform – or at least they were – until now


As stylish as laminated furniture looks, the statement glossy finish can be hard to paint – meaning your IKEA hacks could be left streaking, peeling, or bubbling. However, as a favorite finish of the Scandinavian powerhouse, painting this tricky material is often an inevitable part of the makeover process.
While it is more than possible to transform IKEA furniture with paint, it never hurts to pick up painting tips from those in the know. This is where the experts come in to help.
How to paint IKEA furniture
New York-based Interior Designer Joe Cangelosi shared his advice to ensure your pieces look less like a major makeover mistake – and more like the bespoke furnishing that your modern home deserves.

1. Begin with a clean slate
Before experimenting with your chosen hues, Joe recommends cleaning the surface to remove any dirt that will cause problems later. He recommends using a conventional household spray cleaner and rubbing with a paper towel for quick and easy results. We also suggest using a tack cloth to remove any debris left behind.
2. Sand the surface
Perhaps the most important element of the process – Joe recommends preparing the piece for paint by sanding the surface with medium sandpaper.
'You just want to rough up the finish so the paint will stick,' he explains. However, Joe warns that you need to sand with caution and not remove the entire layer of laminate. Instead, you should only 'look to take the tiny layer of glossy finish off the laminate.'

'If you're painting a larger object, you'll need to sand or de-gloss the base carefully using a fine-grit sanding block before you begin,' adds Classic Architectural Group Designer Garth McAlpin. 'After that, clean the area thoroughly before applying the first coat of primer.'
3. Apply a coat of primer
The priming process prevents streaks and ensures your paint looks vibrant for longer, but what does the method involve? Joe suggests using a water-based primer, recommending Zinsser 1-2-3. 'If you don't have primer, use a couple of layers of latex paint,' he says.
'Wood dowel grains appear to drift about all the time, so make sure none of them wind up on your primed surface. After the primer has dried, inspect each surface to ensure thorough coverage,' Garth adds.

4. Get creative with the paint
Undeniably the most exciting element of the process, this is the step that will make the most significant difference to your furnishing's all-important aesthetic. However, above all, Joe urges you to have fun. This is also a brilliant eco paint idea for using up leftover tins from other projects.
In the same way that painted wall ideas often require two coats of paint, he suggests adding '1-2 more top coats of your latex paint' to ensure your hues pop. 'Have fun with your color choices and design. Get creative with a pattern, faux finish, or whatever you like,' Joe says. Plus, if you're looking for paint color inspiration, our guide is the perfect place to start.

5. Protect your furniture for the future
'If you want to protect your furniture piece after painting, you can brush on a few coats of water-based polyurethane, which will make the finish last longer,' Joe explains. Garth also warns you to wait until the very last coat of paint before adding any sealer to the area.
'If you're painting furniture that won't see much traffic, a simple spray-on clear acrylic sealant will suffice. Choose a heavy-duty sealer if you're painting shelves, doors, cabinets, or anything else that will be subjected to a lot of wear,' he says.
Whether you're following color trends for 2021 or you're transforming your IKEA furnishing into a boutique work of art with your favorite hues – the advice remains the same. The fear of bubbly and streaky pieces is now a distant memory.
Be The First To Know
The Livingetc newsletter is your shortcut to the now and the next in home design. Subscribe today to receive a stunning free 200-page book of the best homes from around the world.
Megan is the News and Trends Editor at Homes & Gardens. She first joined Future Plc as a News Writer across their interiors titles, including Livingetc and Real Homes. As the News Editor, she often focuses on emerging microtrends, well-being stories, and celebrity-focused pieces.
Before joining Future, Megan worked as a News Explainer at The Telegraph, following her MA in International Journalism at the University of Leeds. During her BA in English Literature and Creative Writing, she gained writing experience in the US whilst studying in New York. Megan also focused on travel writing during her time living in Paris, where she produced content for a French travel site.
-
 How to Thaw a Frozen Pipe — Learn Everything You Need to Know in 5 Minutes With This Guide
Winter storm caught you off guard? We asked an expert — just how do you thaw a frozen pipe?
By Hugh Metcalf Published
-
 The 12 Very Best Silk Bedding Pieces — As Our Style Editor Says: 'It's What Dreams Are Made Of!'
Slumber in lustrous luxury with the very best silk bedding sheets, duvets, pillowcases, and more — your sleep score will thank us later
By Julia Demer Published

