How to paint a room - the foolproof guide to the perfect finish that will revitalize your home
Knowing how to paint a room means getting a decor update done in a weekend, and done well with this advice from the experts
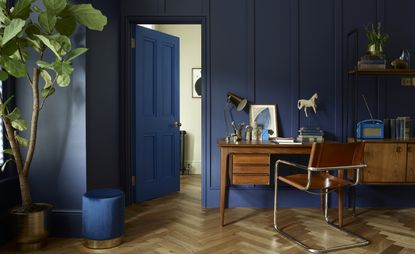
Knowing how to paint a room means the world of quick weekend overhauls is yours for the taking. Giving a room a spruce breaths fresh energy into a space. The simplest and most effective way to do this is with a lick of paint and a fresh color palette. If you don't know how to paint a room, it's easier than you think. Follow our experts' advice for a professional looking finish.
Numerous lockdowns have caused a surge in home improvements. In some areas, this has led to long waiting lists for tradespeople. Rather than wait, many are choosing to roll up their sleeves and do the job themselves.
With so many paint ideas to choose from, it's possible to transform a tired room into a beautiful space in a matter of days. This can be a large project if you're enthused with living room ideas, or just a quick refresh of the bathroom. Decorating the room yourself can save time - and money - but it's important to get it right.
'Preparation is the job everyone hates but getting it right means that your decoration stays looking great for longer and if you do everything in the right order, it makes everything quicker, easier and less messy,' says Marianne Shillingford, creative director of Dulux.
Before you prise open your paint tins, the steps ahead are the route to a sensational scheme.
HOW TO PAINT A ROOM
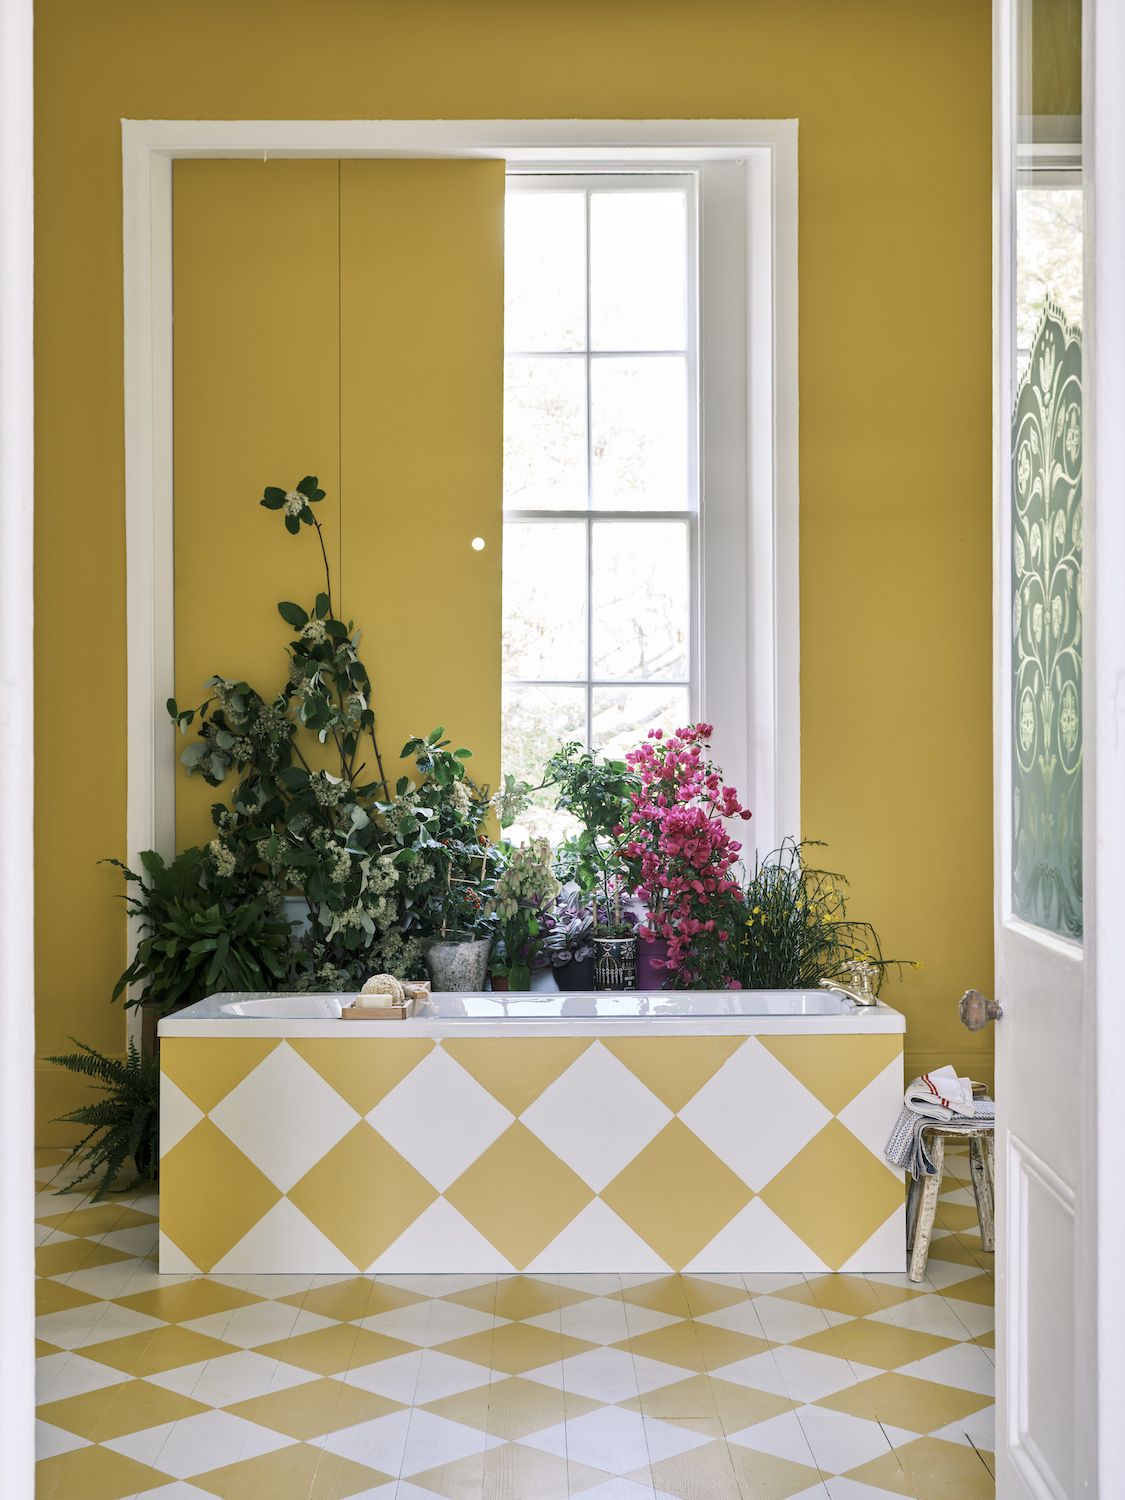
1. WHAT YOU'LL NEED
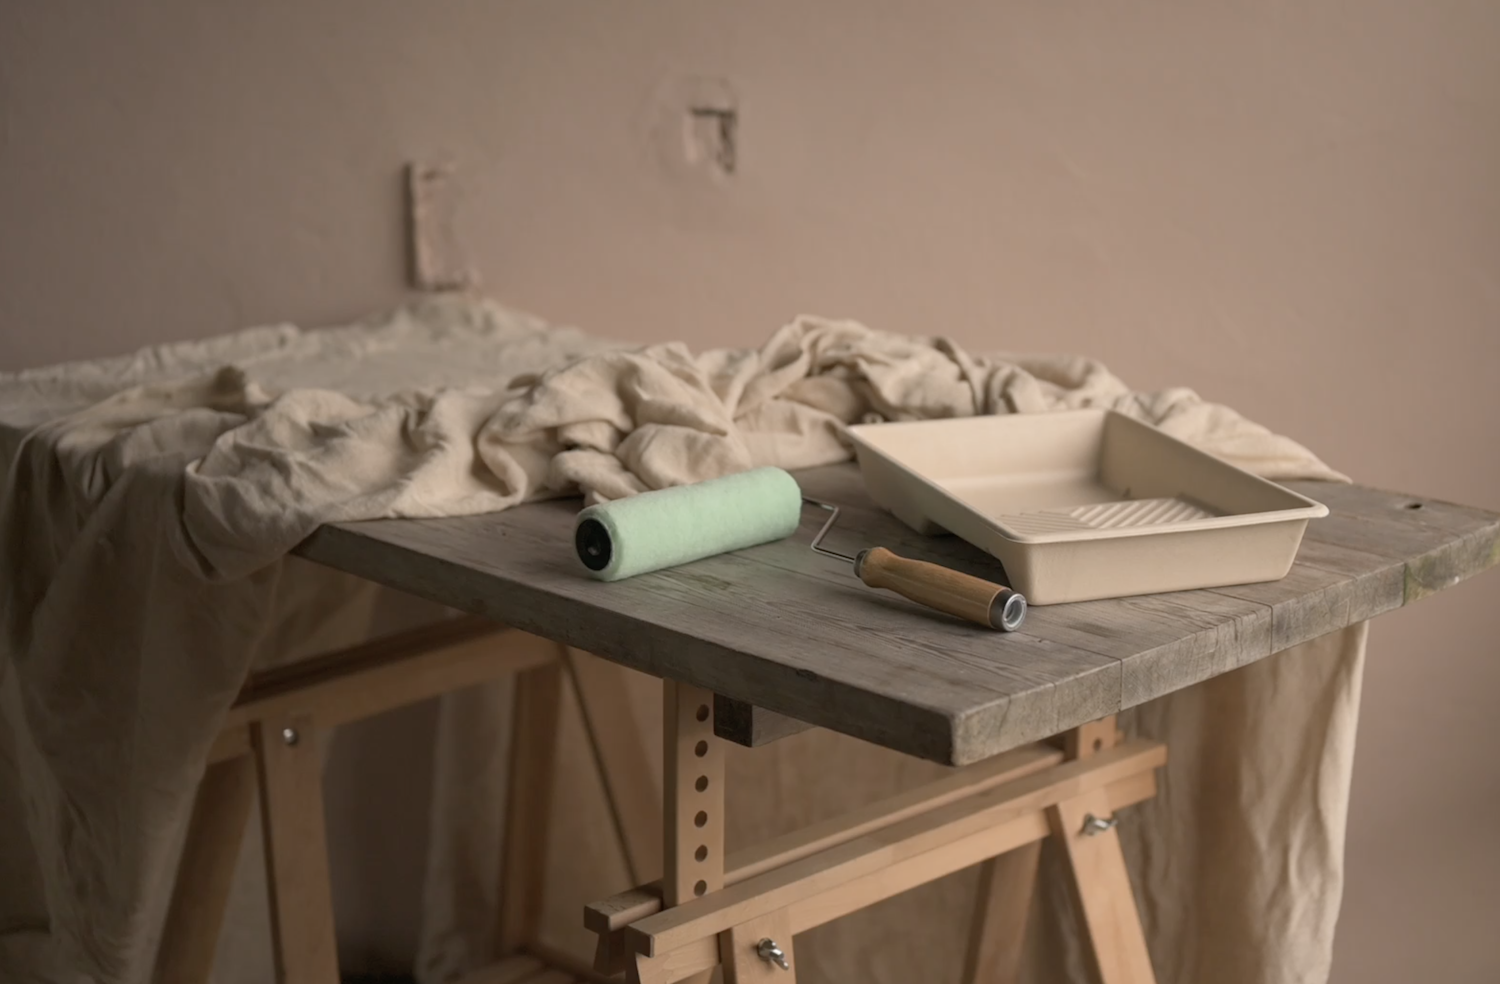
- Step ladder
- Dust sheets
- Old newspaper or card
- Filler and sand paper
- Paint tray and paint kettle (or a very small bucket with a handle)
- 9" roller
- 2' brush
- Masking tape or frog tape
- Jar with water for storing brushes
- Plastic bag to wrap the paint tray overnight (it stops the paint drying)
- Paint of your choice (emulsion for walls and ceiling / eggshell for woodwork)
When it comes to painted walls, good quality brushes and rollers will make the job quicker and easier (bristle loss is common with cheap brushes). 'No one wants to waste time picking stray hairs out of paintwork,' says Nikki Buckley, Managing Director of Eco-Union, supplier of sustainable decorating tools.
'A roller is ideal for painting large, smooth, well-prepared walls, ceilings and you will need at least one brush to help you cut in the edges,' she adds.
'Choose the size of brush for the size of the job and what it entails. If you’re looking for a great all-rounder that’s good for most painting scenarios, a 2” brush is a great addition, or the 2.5” which will cover a larger area quickly. For textured or rougher surfaces, we tend to find our 3” helps make the painting process smoother and easier.'
2. CLEAR THE SPACE
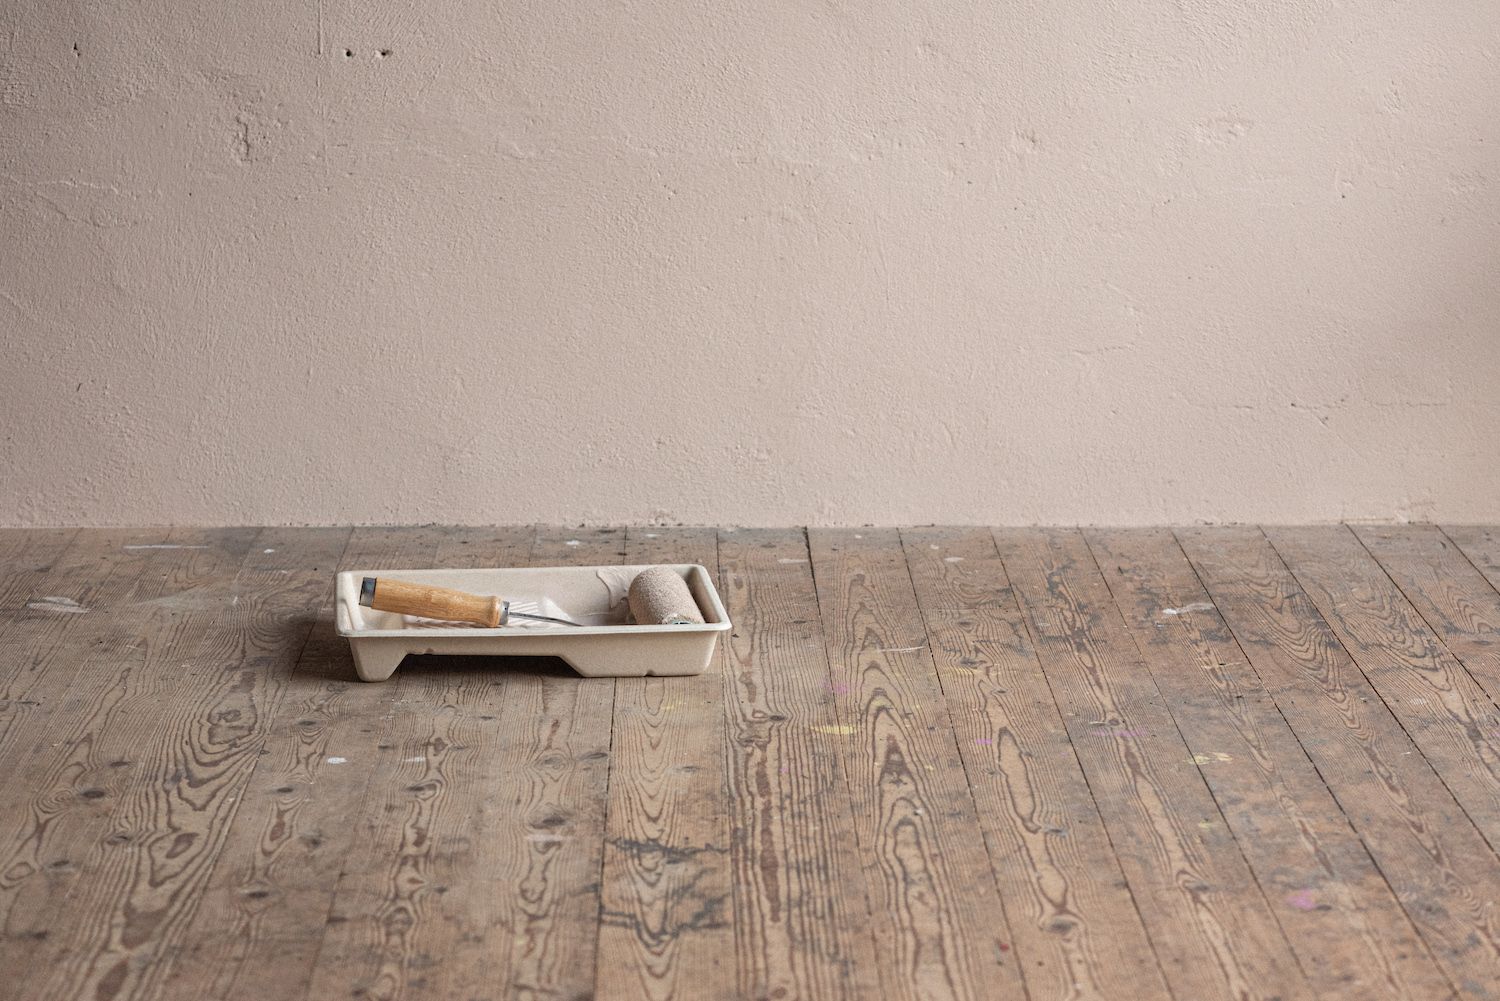
Painting can get messy, so protect your furniture, fixtures and floors, and box up books, lamps and ornaments before you start.
'Remove or roll up rugs and curtains, move furniture to the centre of the room, cover it with dust sheets and lay card, paper or dust sheets on the floor in the area you will be painting,' says Ruth Mottershead, creative director, Little Greene. 'Also remove any picture hooks or fixings from walls. Loosen, or completely remove, any switch and socket plates, door and window handles – they will be easier to tape-off if loose before painting.'
'It may feel like a chore but it's it's much quicker to prepare the area properly than clear up spilt paint,' adds Annie Sloan, color and paint expert.
3. PREPARE THE SURFACE AREA
This is the unpleasant nitty gritty work that will pay dividends at the end, when your scheme looks pristine.
'Clean walls and woodwork thoroughly,' says Marianne Shillingford, creative director of Dulux. 'Some walls may just need a good dusting, unless they are in a kitchen or bathroom. Sugar soap is good, wiped off with clean water.'
4. FILL AND SAND WALLS AND WOODWORK
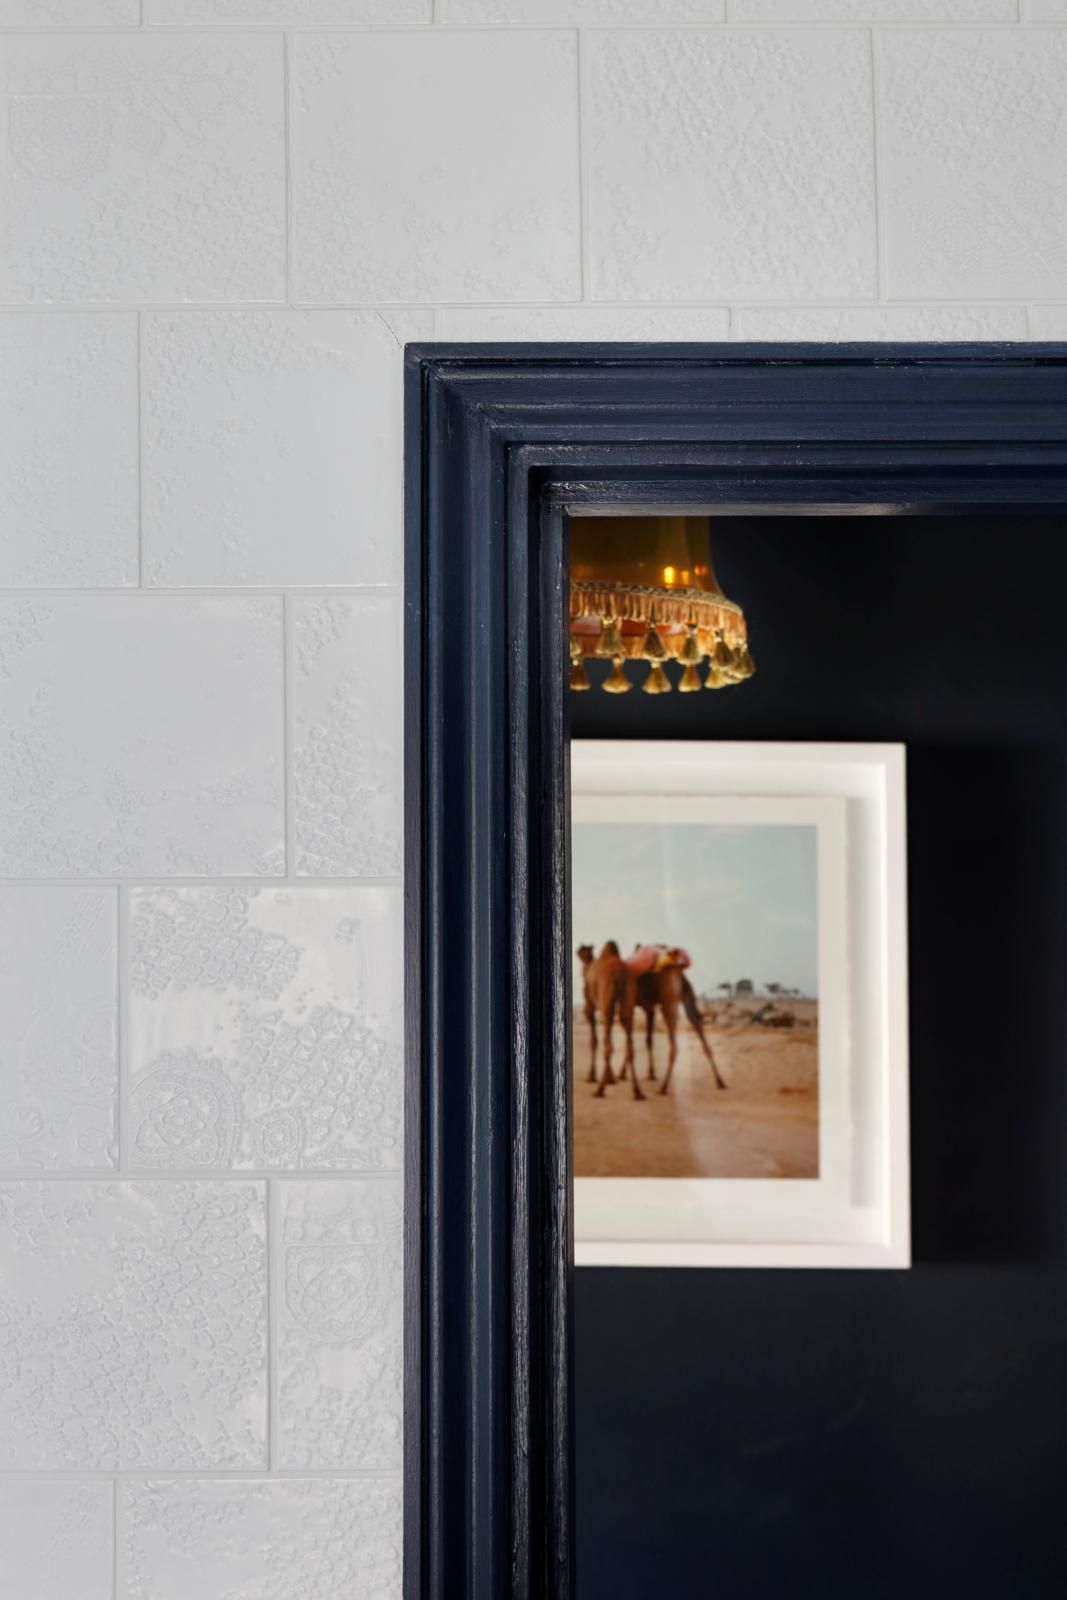
Painting onto a smooth surface from the outset is a big step towards a professional looking finish. No one said weekend projects were glamorous.
'Make sure you completely remove any loose paint, plaster or wallpaper, and ensure the surface is dry,' says Ruth Mottershead, creative director of Little Greene. 'If you're painting over wallpaper, make sure all the seams are properly glued. Rake out and fill all cracks, screw holes, seams and imperfections with proprietary filler and sand the dried filler smooth with fine abrasive paper. Dust, wipe and check any cornicing for damage too.'
'Use the right fillers for woodwork and walls and ask at the DIY shop if you're unsure,' adds Marianne Shillingford, creative director, Dulux. 'Once it's dried and you've sanded, it's worth vacuuming up the dust before painting, so it doesn't end up marking your walls,'
5. PROTECT SWITCHES, SKIRTINGS AND WINDOW SILLS
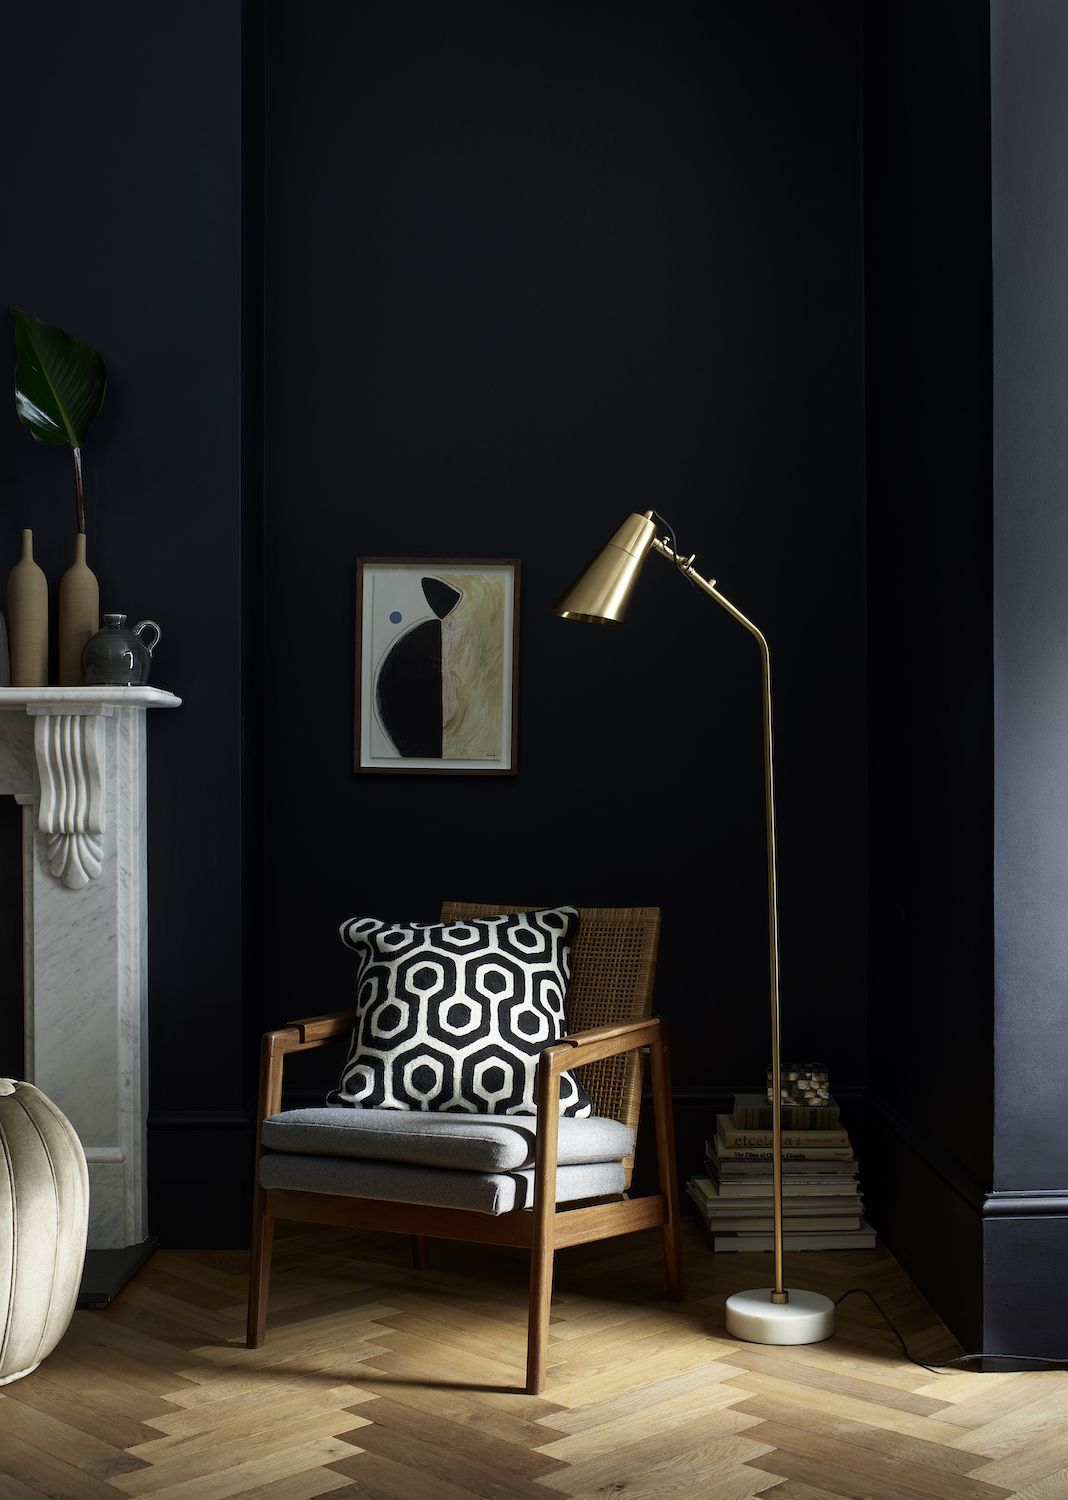
Paint smudges and wonky lines will scream botch job, so unless you're painting the woodwork the same color as the walls, you'll need to protect them with masking tape. The same goes for light switches and sockets. Taping everything may seem tedious but it's easier than wiping off wet paint - or worse repainting the area.
'Thorough preparation from clearing the room, cleaning, sanding and filling to masking can take approximately a third of the time it takes to apply coats of paint,' says Marianne Shillingford, Dulux. 'If the walls and woodwork are in bad condition it can take longer.'
6. START WITH THE CEILING

When painting a room, the ceiling is the first surface to start with, so paint doesn't drip or spray onto finished walls or floors. Those confident in how to paint a ceiling, may want to get creative with bolder colors.
'A step ladder and a good quality roller, not larger than nine inches (which can be too heavy and unwieldy), with a good-sized tray are important when painting a ceiling, to avoid having to go up and down the ladder and ensure each coat of paint is applied evenly,' says Ruth Mottershead, Little Greene.
'A roller extension pole will make emulsioning the ceiling quicker,' adds Marianne Shillingford, Dulux. 'And don't worry if your ceiling colour extends onto the walls at this stage.'
'Before you start any painting, open your windows wide in the room that you’re decorating,' says Rated People decorator, Alin Bonciu of A Painter Near You.
7. MOVE ONTO THE WOODWORK
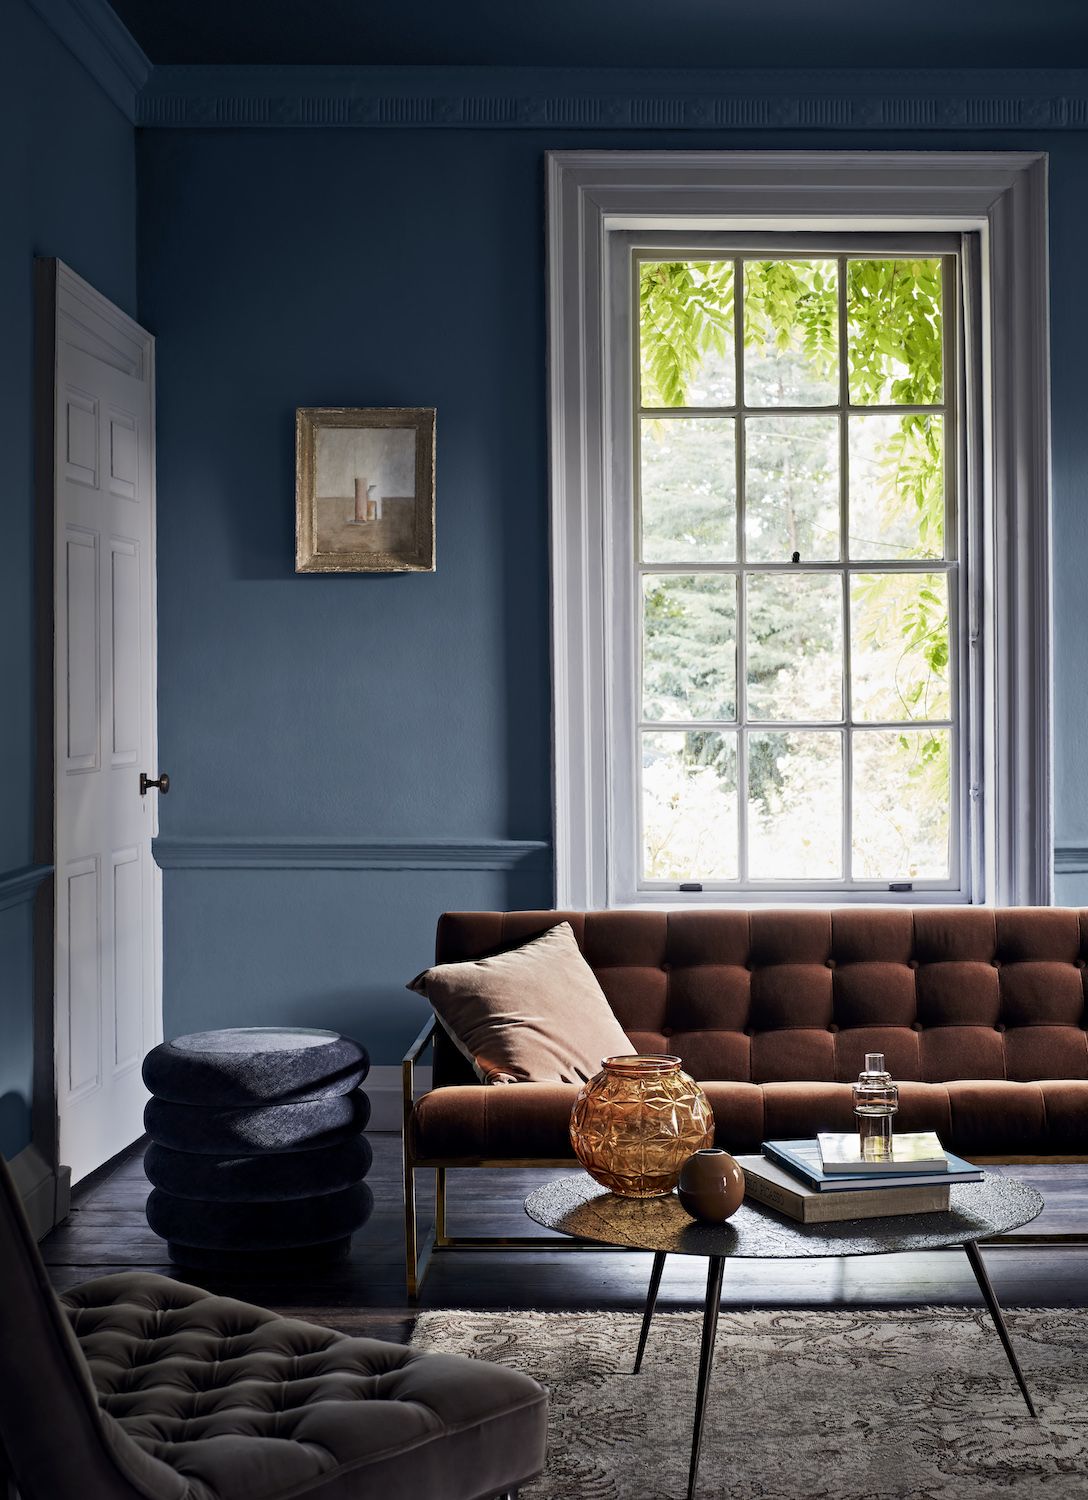
Whilst the first coat of emulsion on the ceiling is drying you can apply undercoat or primer (check which you'll need when you buy the paint) to the woodwork, such as skirting boards, architraves and window frames.
'It's tempting to overload your paint brush, but try to keep it evenly spread, it will stop the drips and also create a smoother finish,' says Ruth Mottershead of Little Greene.
Once the woodwork is primed, it's time to apply the second coat to the ceiling and leave it to dry.
8. PAINT THE WALLS
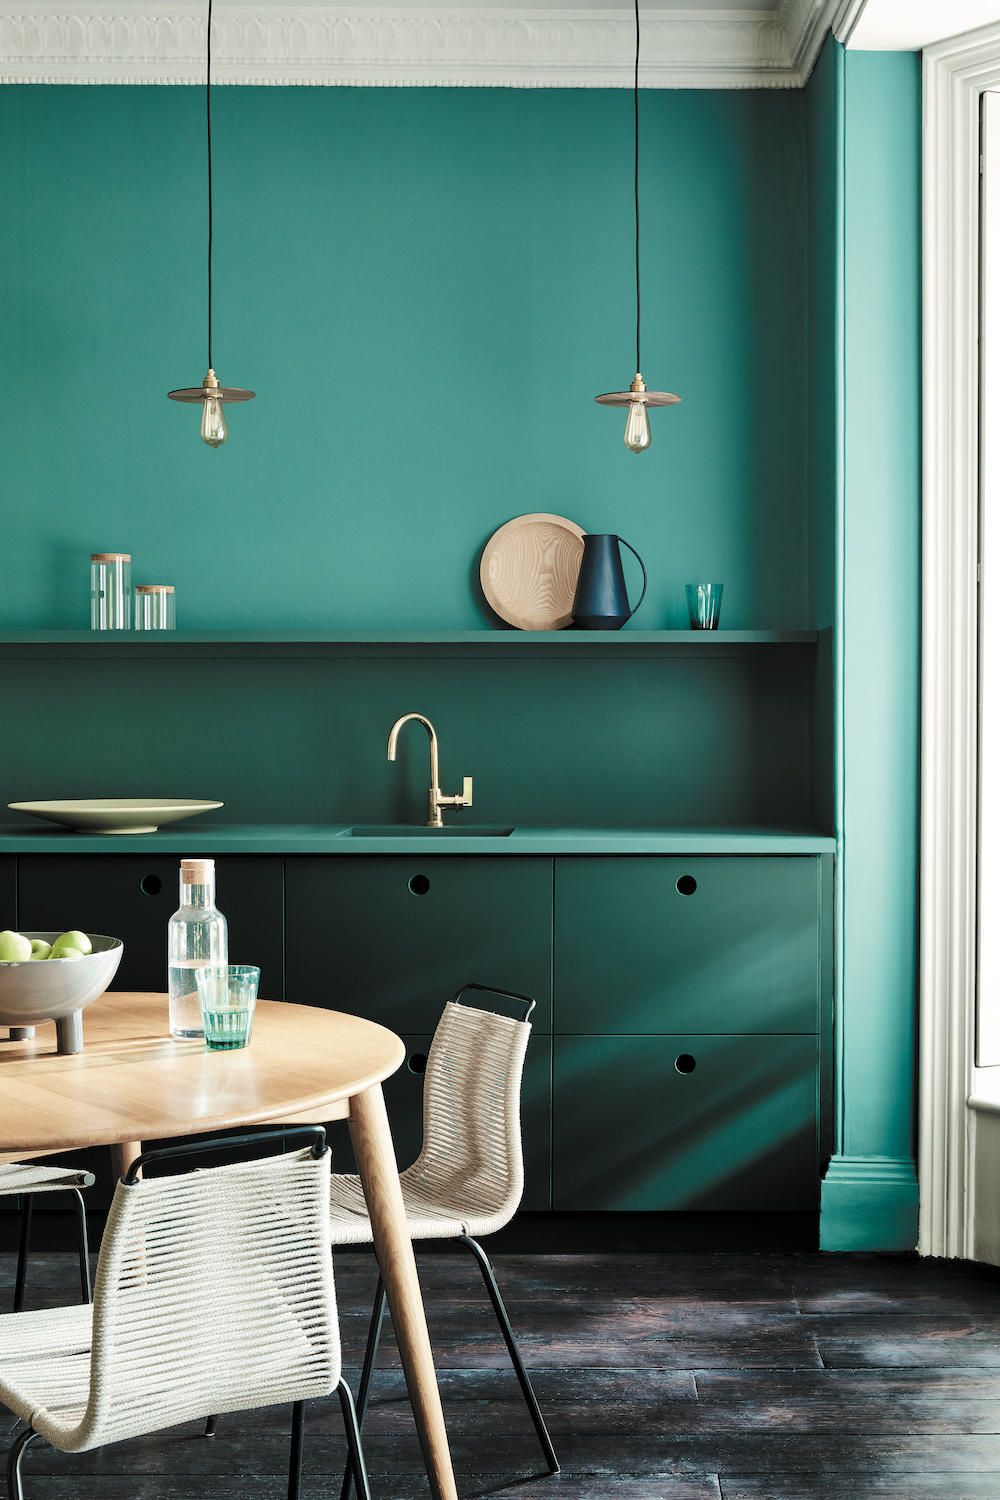
Once the ceiling is dry, it's time to paint the walls. 'Drying time depends on which paint you use but it’s typically a minimum of two hours,' says Rated People decorator, Alin Bonciu of A Painter Near You.
Begin with the ‘cutting-in’ – the careful painting of the edges of the walls. This requires meticulous attention if your wall color is different from the ceiling.
'This isn't possible to do accurately with a roller or bigger brush,' says Ruth Mottershead, Little Greene. 'Decant just an inch or so of paint into a paint kettle, or a similar, easy-to-handle container and load a one or two inch straight-edge brush, clearing excess paint from the sides of the brush by dragging them lightly over the lip of the container.
'Working from the top down, paint a two or three-inch frame around all the edges of the wall. Paint the corners, edges of the skirting board and around windows, doors, light fixtures, sockets and switch plates before moving onto the roller, working it up, down and across until you’ve covered the area evenly. Cover the entire wall in this way, square by square.'
Once dry, repeat with the second coat of emulsion.
9. FINISH THE WOODWORK
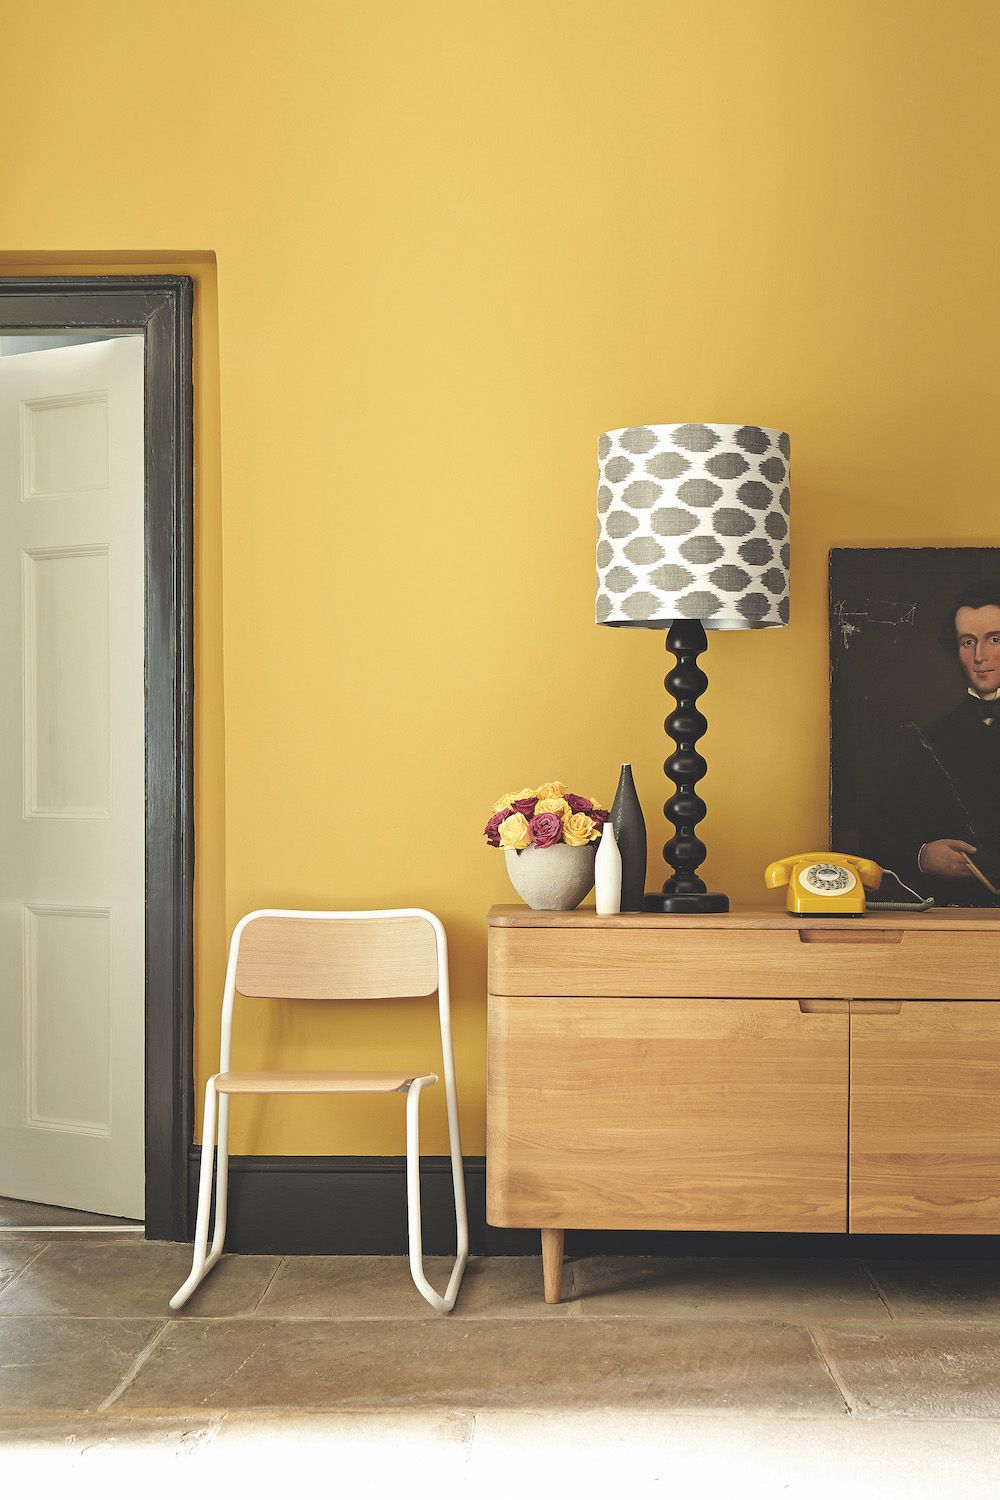
Make sure your walls are completely dry if you need to apply masking tape, before painting woodwork a different color. (This isn't necessary if the walls and woodwork are the same color).
Paint the woodwork in a water-based eggshell, leave to dry and apply the second coat.
'The one issue you can’t speed up is drying time between coats,' says Annie Sloan, paint and colour expert. 'Rushing this and applying layers of paint over not-quite-dry layers of paint will affect both the finish of the paint and the longevity.'
10. REMOVE ANY MASKING TAPE
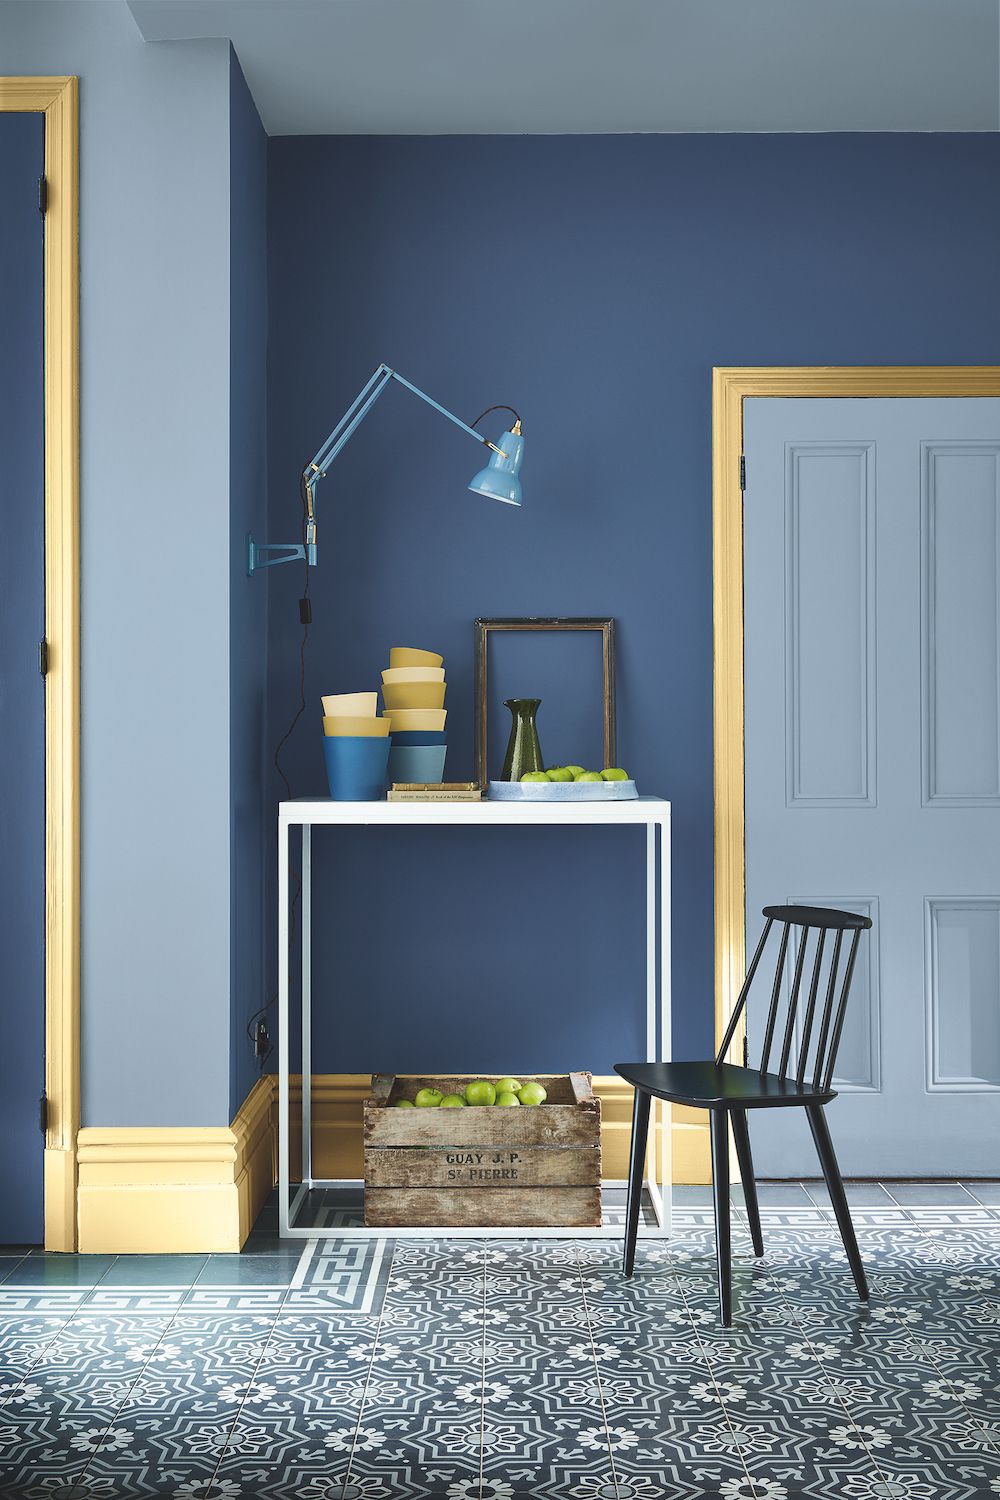
As with how to paint stripes on a wall, this is the final task and then your room is ready. 'I'd give it around an hour – generally speaking you want to remove masking tape pretty quickly once you’ve done your painting,' says Rated People painter and decorator, Alin Bonciu of A Painter Near You. 'Don’t let it fully dry as you run the risk of peeling paint off with it.'
WHEN PAINTING A ROOM WHERE DO I START?
'Clear the room so you can easily get to the areas you are painting and protect furniture and flooring with dust sheets,' says Marianne Shillingford, Dulux.
'Prepare your walls and lay a flattened corrugated box on the floor, its padded surface will protect the floor and soak up any drips better than polythene sheets,' says Rutt Mottershead, Little Greene. 'Set out your tools, then open the paint and give it a good stir - all the way to the bottom of the tin.'
WHAT IS THE CORRECT ORDER TO PAINT A ROOM?
The general consensus from the experts is to start with the first coat on the ceiling, move onto undercoating the woodwork, then apply the second coat to the ceiling.
After that paint the first coat on the walls, once dry apply the second, then two top coats on the woodwork, leaving to dry in between.
Some others paint the walls then the woodwork, but always the ceiling first.
WHAT IS THE EASIEST WAY TO PAINT A ROOM?
Using one colour across the walls, ceiling and woodwork not only looks good, it makes the task easier too.
'If you’re using the same colour, one room would take a painter two days to finish on average,' says Rated People painter and decorator, Alin Bonciu of A Painter Near You. 'When you’re working with multiple colours, it takes longer because you need to spend more time on cutting in the lines and the preparation work.'
'If you're painting every element in an average sized room, in more than one colour, it should take between 3 and 4 days from start to finish,' says Marianne Shillingford, Dulux.
Be The First To Know
The Livingetc newsletter is your shortcut to the now and the next in home design. Subscribe today to receive a stunning free 200-page book of the best homes from around the world.
Jacky Parker is a London-based freelance journalist and content creator, specialising in interiors, travel and food. From buying guides and real home case studies to shopping and news pages, she produces a wide range of features for national magazines and SEO content for websites
A long-time contributor to Livingetc, as a member of the team, she regularly reports on the latest trends, speaking to experts and discovering the latest tips. Jacky has also written for other publications such as Homes and Gardens, Ideal Home, Red, Grand Designs, Sunday Times Style and AD, Country Homes and Interiors and ELLE Decoration.
-
 How to Thaw a Frozen Pipe — Learn Everything You Need to Know in 5 Minutes With This Guide
Winter storm caught you off guard? We asked an expert — just how do you thaw a frozen pipe?
By Hugh Metcalf Published
-
 The 12 Very Best Silk Bedding Pieces — As Our Style Editor Says: 'It's What Dreams Are Made Of!'
Slumber in lustrous luxury with the very best silk bedding sheets, duvets, pillowcases, and more — your sleep score will thank us later
By Julia Demer Published

