Before & After: This IKEA BESTA is now a statement piece with intricate cane details
The minimalistic classic is now a chic furnishing with a weaved finish – this is how to bring the look in your home
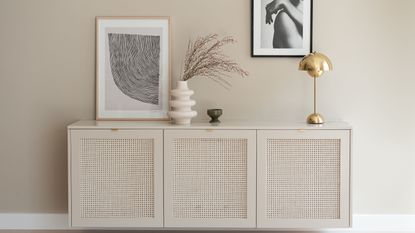

From the KALLAX to the PAX, the wonderful world of IKEA hacks is endless. This week, our latest makeover crush takes us to Dubai, where a designer has transformed her BESTA unit into a fashionable statement piece. And the best part? You can recreate this exact look on your own flatpack.
Kathryn Hawkes, the individual behind BESTA’s stylish sister is the co-founder of Fronteriors, a UAE-based design label that produced and sells the weaved front, so you can transform your unit in exactly the same way. But what does the design process involve? Kathryn reveals what you need to know.
IKEA BESTA before
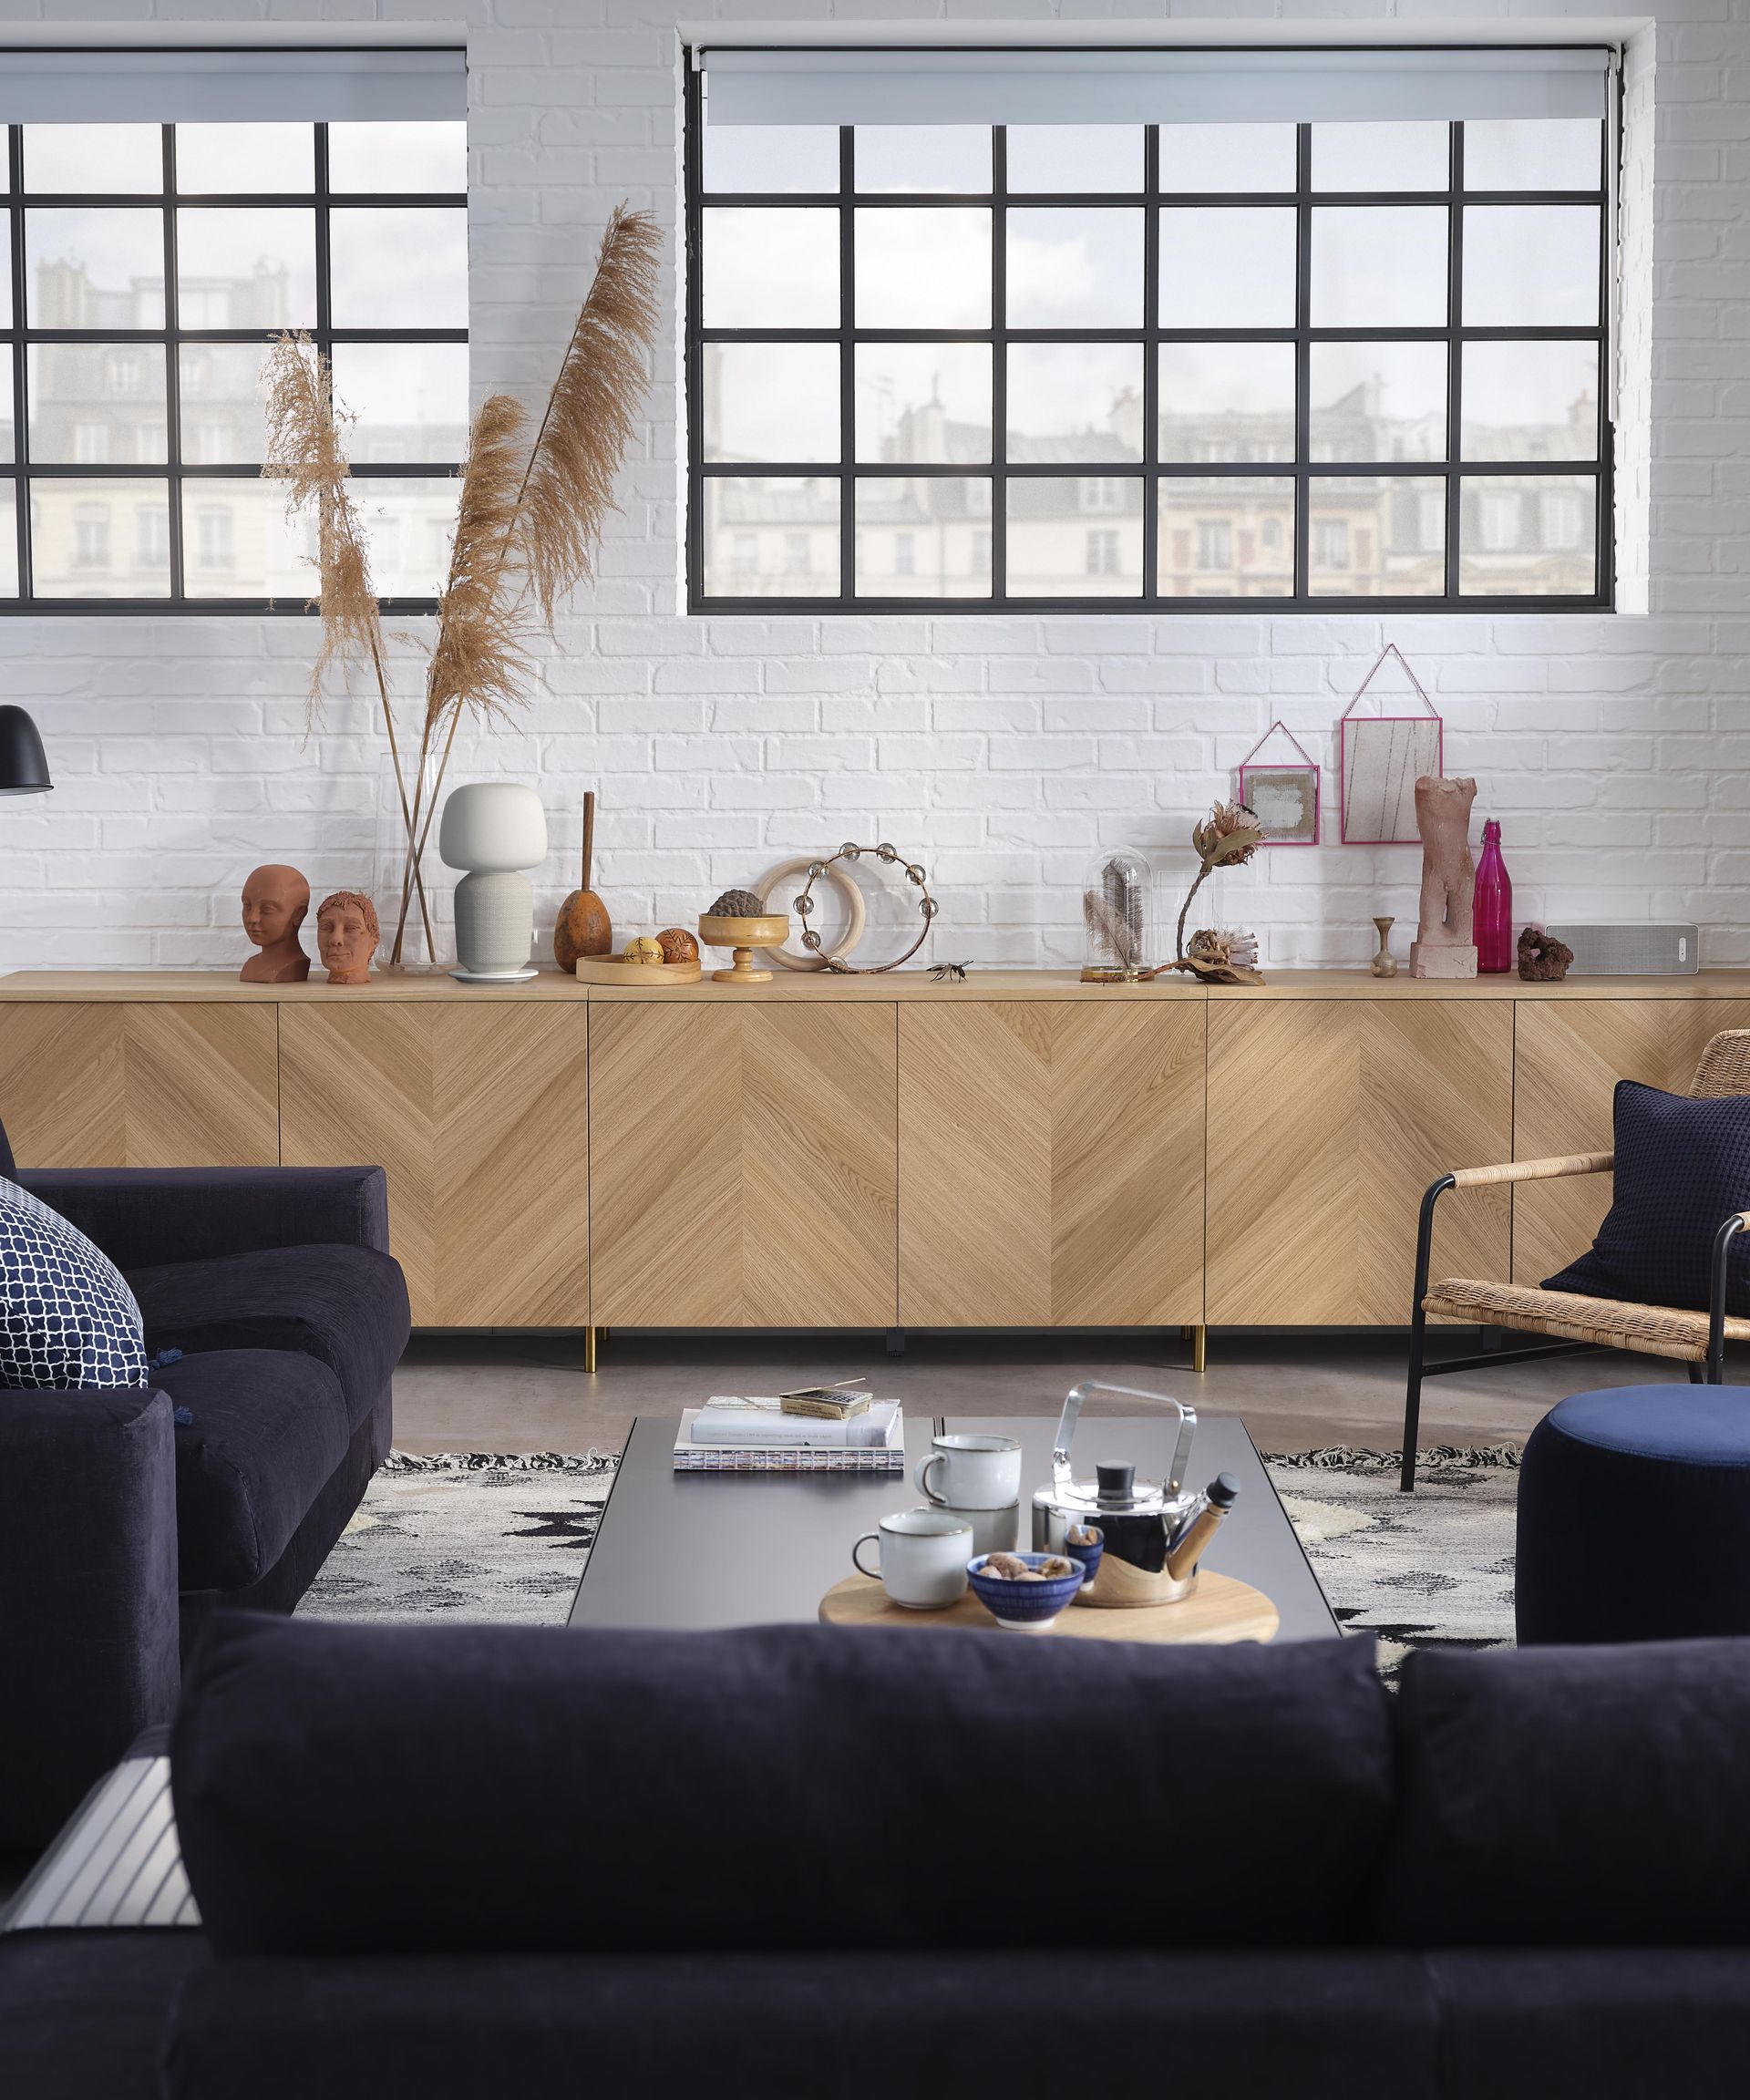
BESTA styled by IKEA
‘The IKEA BESTA frame [is] the easiest and most stylish IKEA hack,’ the designer explains. ‘Just buy the Fronteriors components (doors, sides, and top) and add them to the IKEA frame.’
The instructions explain that alongside the unit, you will need a Philips head screwdriver (manual or electric) and a 4mm drill if you choose to add knobs. The BESTA hinges and screws correspond with the conventional IKEA installation guide.
Armed with the cabinet, Kathryn begins by laying the cabinet on its back on the floor, before aligning the side panels, one at a time. The top, back, and bottom edges should align with the original frame.
IKEA BESTA after

Kathryn then suggests screwing the 30mm screws from the inside, using the frame’s ready-made shelf holes as a guide. It is important not to leave a gap between the frame and the panel – so ensure the screws grip the panel tightly. You should also use two screws along the top area and two across the bottom.
You should do the same for the top, and ensure the weaved panel aligns with the rear. Then Kathryn suggests using the pre-made holes to fit the top panel with a drill and repeating the procedure until all the holes are complete.

With all panels complete, Kathryn turns the unit back to the upright position and applies the statement doors, using the ready-dilled holes. Here, you should use your screwdriver to ensure the screws are permanently in place.
You should then adjust your doors to the correct position and only play with the hinges after adding the top.
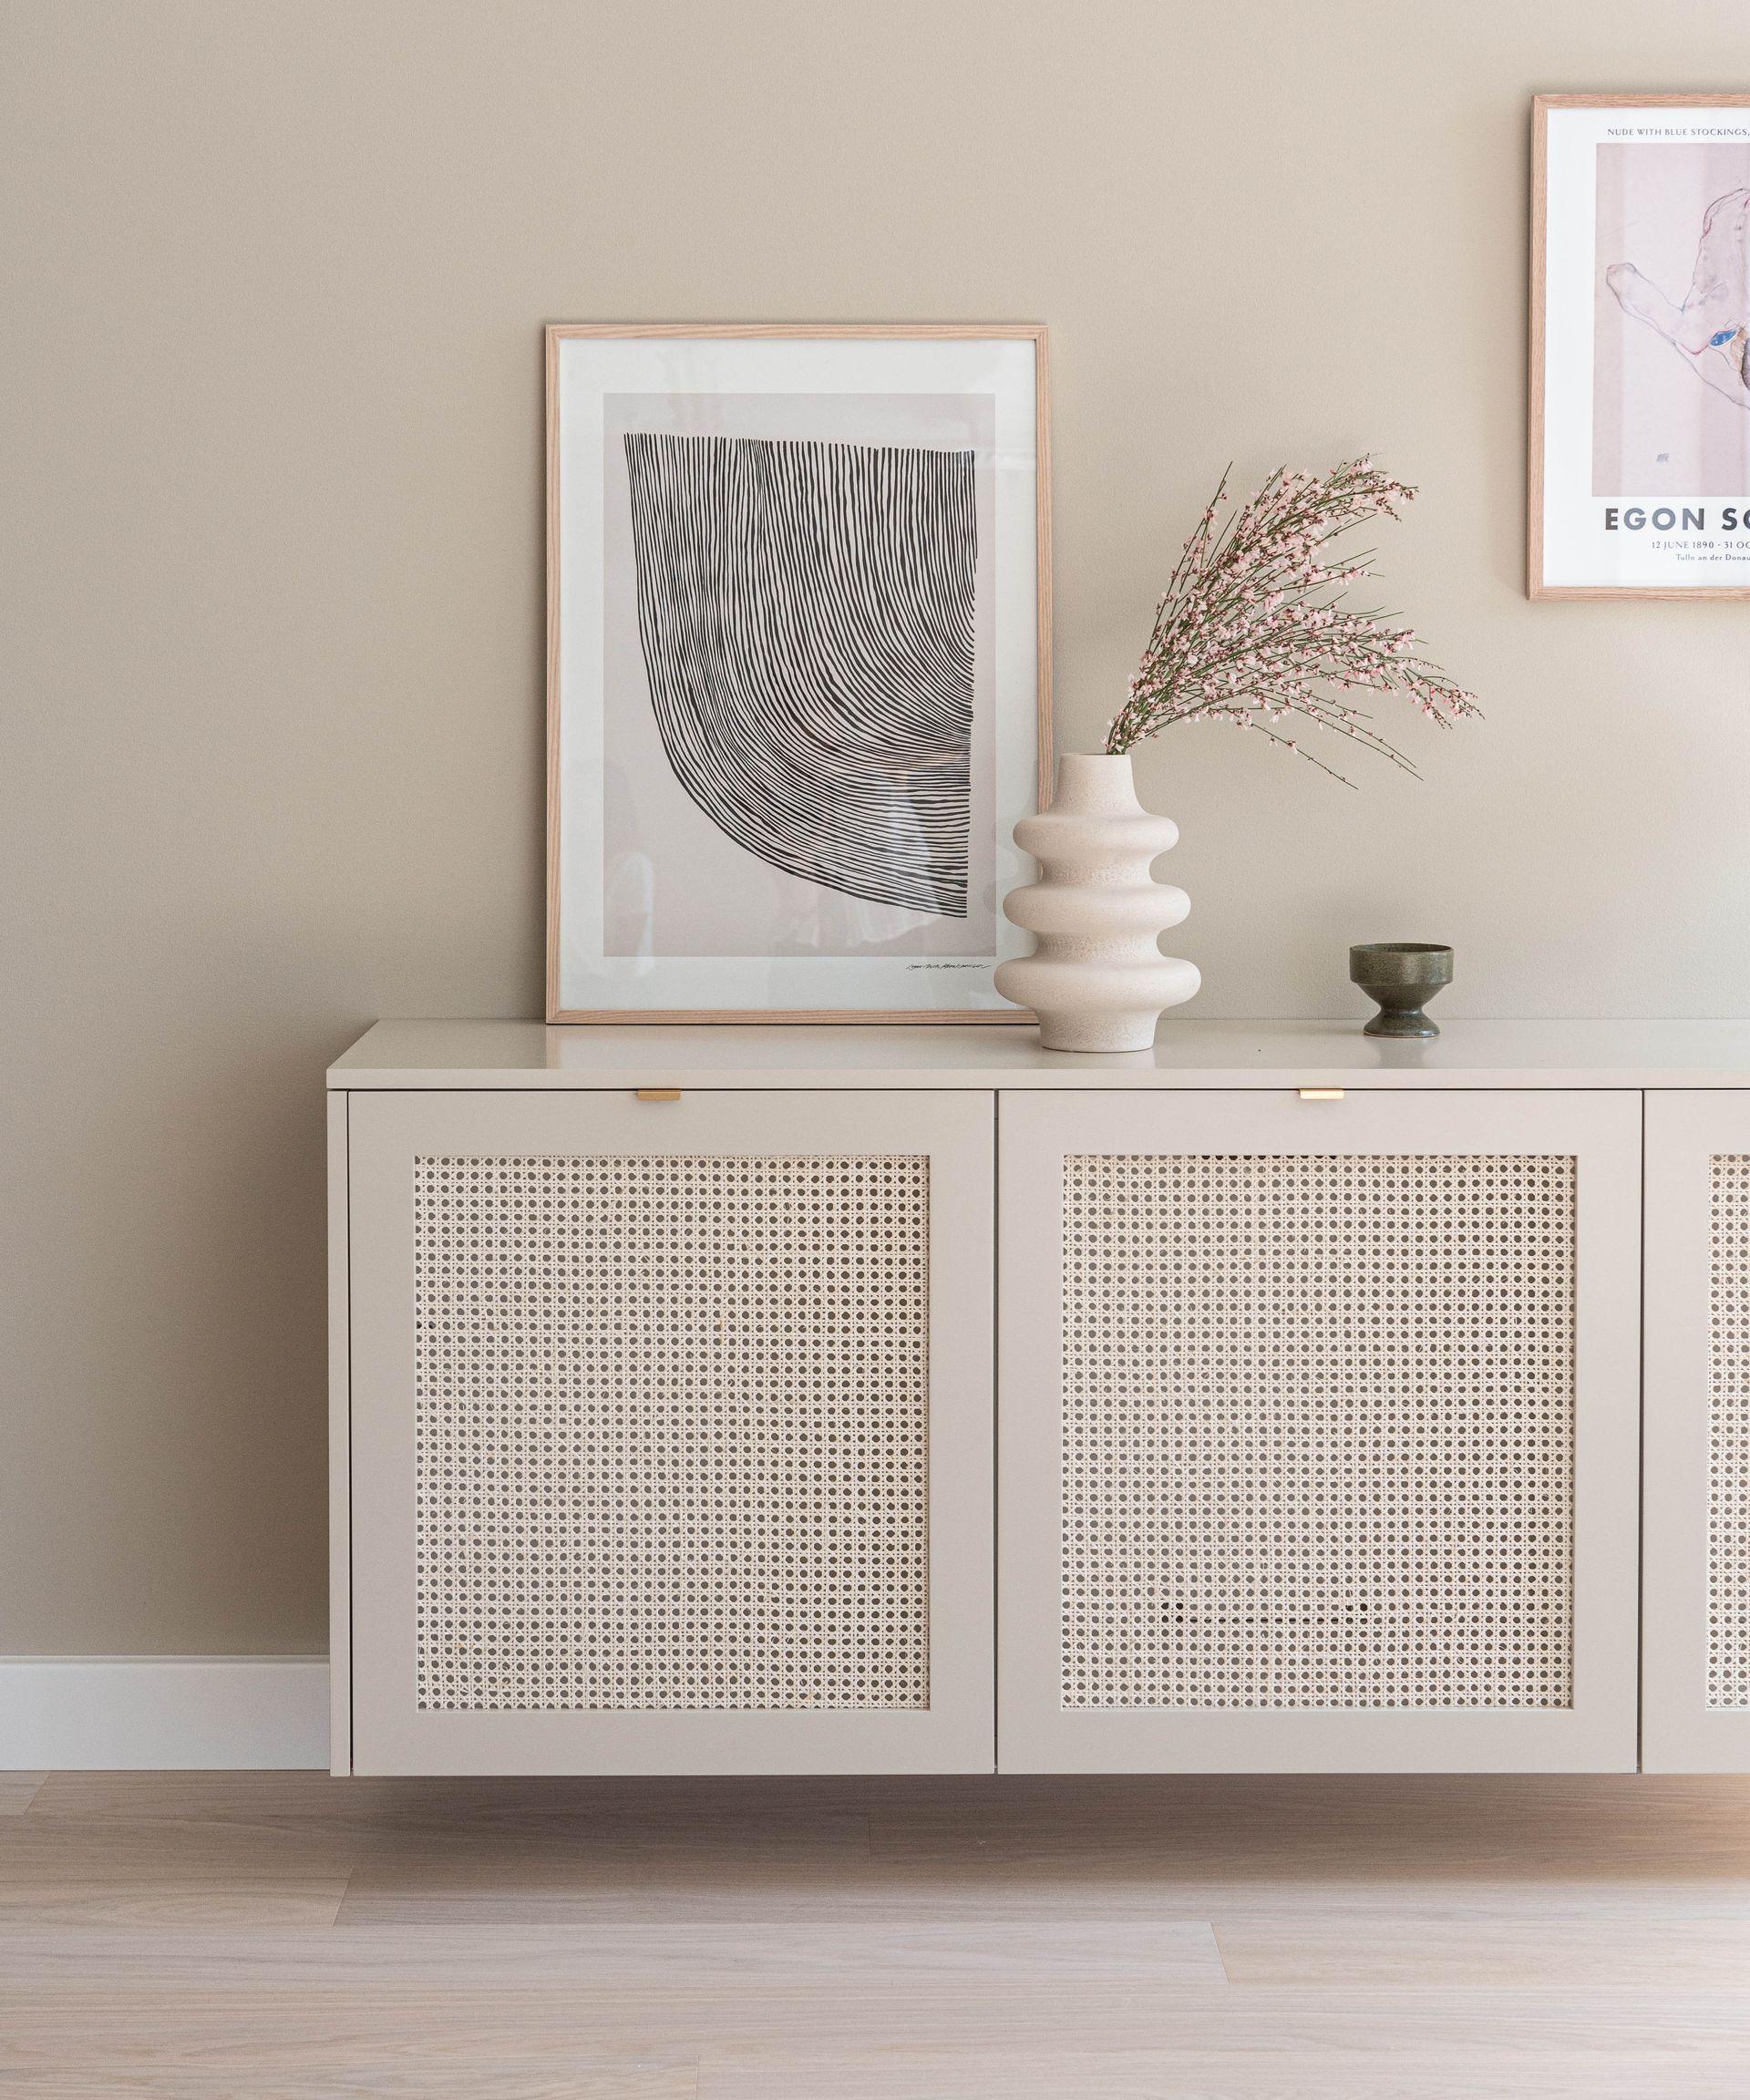
To complete the unit, you can add accessories of your choice – whether that is a bespoke doorknob or a vase to crown the unit. Whatever you choose, this IKEA BESTA is the interior design idea your home needs.
Be The First To Know
The Livingetc newsletter is your shortcut to the now and the next in home design. Subscribe today to receive a stunning free 200-page book of the best homes from around the world.
Megan is the News and Trends Editor at Homes & Gardens. She first joined Future Plc as a News Writer across their interiors titles, including Livingetc and Real Homes. As the News Editor, she often focuses on emerging microtrends, well-being stories, and celebrity-focused pieces.
Before joining Future, Megan worked as a News Explainer at The Telegraph, following her MA in International Journalism at the University of Leeds. During her BA in English Literature and Creative Writing, she gained writing experience in the US whilst studying in New York. Megan also focused on travel writing during her time living in Paris, where she produced content for a French travel site.
-
 How to Organize your Bathroom for a Better Morning Routine — 6 Steps for a Seamless Start to the Day
The ease of your morning routine can have a huge influence over the rest of the day, so make sure you optimize you space for a stress-free start to the day
By Lilith Hudson Published
-
 5 Trees You Should Prune in Your Backyard in February — 'It Makes Much Sense to Cut These Ones Back Now'
If you think pruning trees is best left to spring, think again. These trees all could use some cutting back now for several very important reasons
By Hugh Metcalf Published
