How to refinish wood furniture - easy ways to totally overhaul your decor
Expert advice on how to refinish wood furniture, whether you're upcycling old items, renewing family heirlooms or refreshing favourite pieces

When you know how to refinish wood furniture you have the ability to transform tired old timber pieces into wonderful additions for your home.
With the current mantra to reduce, reuse and recycle, there's a new appreciation for upcycling, restoring or repurposing older items.
Whether you've picked something up at a salvage yard, charity shop or online marketplace, you can breathe fresh life into it with a new finish, helping to get closer to sustainable living.
'Old pieces of timber furniture can make excellent washstands in bathrooms for example,' says Nick Hughes at Retrouvius Reclamation & Design. 'It's a great way to add character to a space that can often be full of new white sanitary products.
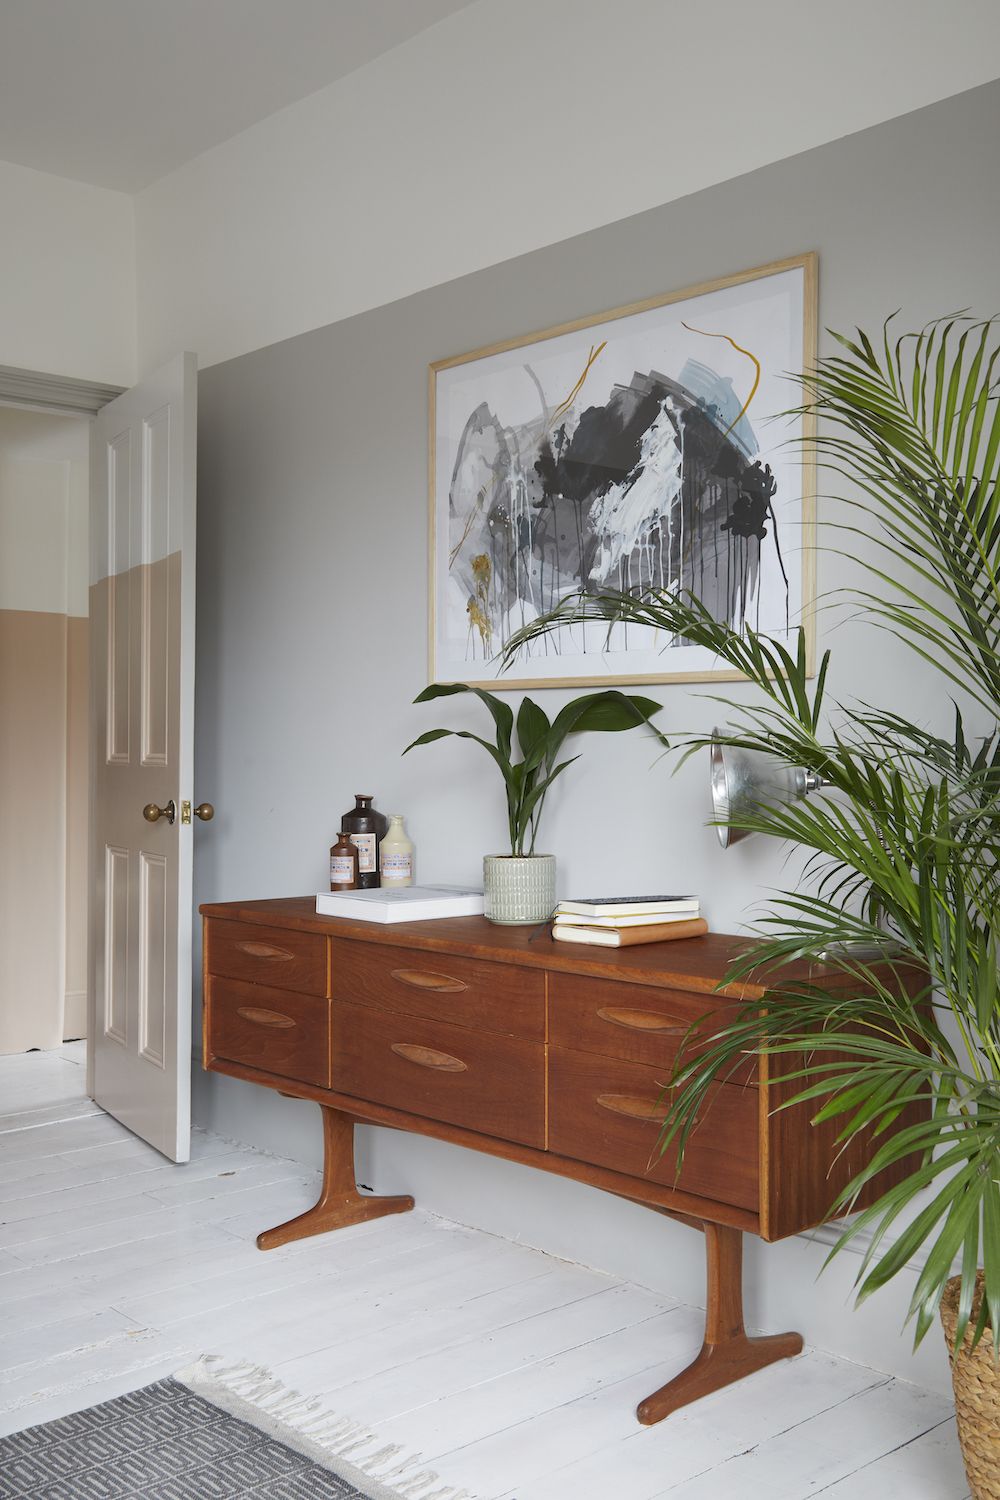
'Tropical hardwoods harvested in the mid 20th century are a valuable resource and a hardwax oil can be used to supplement the natural oiliness of the wood. Clients often find that pieces which have already a few "bruises" relax a space and take away the worry or idea of perfection.'
So if you want to prolong the life of your wooden furniture or take an original mid-century piece back to its original glory, what do you do?

How to refinish wooden furniture - step by step
You will need:
- Wax, oil or hard wax oil - this hard wax oil from Amazon comes particularly recommended
- Sandpaper
- Methylated spirit
- Cloth
- Paint tray
- Brush
There are numerous ways to refinish wooden furniture from stains, dyes, varnish and lime wash to wax, oils and wax/oil hybrids. The type of timber you are applying them too will affect the finish too.
If you have ever watched in horror as a beautiful pale timber has turned yellow with a 'clear' coating, or want to ensure the right tone for your timber, here's what to do.
'Wax, oils or hard wax oils (a hybrid of the two) offer the closest to a natural finish,' explains Ryan Godden, wood expert at Wood Finishes Direct. 'Hard wax oils are extremely durable and great for high wear pieces such as doors or dining tables.
'Oil is great if you have young children as it's easy to repair any scuffs that might occur. Softwoods absorb oil better. Hardwoods have a tighter grain so we recommend extra thin oil to penetrate the grain.
'Wax will retain the character of the timber whilst restoring the look and feel of dry, worn, scuffed or scratched areas. It can be buffed to a sheen or left unbuffed for a more natural look.
'If you want pale timber to stay looking raw, look for an oil or wax with a hint of white pigment, such as Osmo Raw or Fiddes Hard Wax Oil Natural.
'Dyes and stains obviously alter the color of the timber; varnish gives the best level of protection and liming brings a white effect to the grain, and is usually applied to darker timbers for the best outcome.
'Whatever you're doing, we always recommend a patch test first,' adds Ryan. 'Find an area on the underside or inside of the piece, sand it and apply the finish you want to use, including any top coats so you can be sure of the end result.'

1. Remove the old surface by sanding
As with any DIY or weekend project, preparation is key, so be prepared to block off an afternoon to sand your piece of wooden furniture. It's a messy job so lay newspaper or a dust sheet and wear a mask and goggles. If you're removing paint, use a paint stripping product first.
'Any prior coats will need to be removed from your furniture, so the new finish will adhere to the surface,' explains Ryan at Wood Finishes Direct. 'If you've bought an old piece, you may not know what it's coated with. Sanding it is the safest bet.
'Whether you're sanding by hand or with a sander, we recommend starting with an 80 grit sandpaper and working upwards to a finer sandpaper if needed. This will give a nice even finish. Prepare the test area in the same way.
'If you don't prepare the surface properly you may get a patchy finish. It's not worth doing half the job.'
2. Make sure your furniture is degreased

Once your piece has been sanded, you need to make sure it is clean, so that the new finish adheres.
'We recommend wiping the surface with a little methylated spirit on a cloth,' says Ryan. 'This ensures any dirt, grease and saw dust is removed before you apply the new finish. Ideally leave it overnight so the surface is dry.'
3. Apply the first coat
The process is similar, whichever finish you have opted for. However, drying times vary drastically between products. 'Stains, dyes and waxes dry extremely quickly,' says Ryan. 'However, oils can vary between 4-12 hour drying times.'
Follow the manufacturer's instructions when applying your chosen finish. Most finishes are applied sparingly with a brush. Pour a small amount of your oil, varnish or wood stain into a tray, and work towards the grain.
Wax can be applied with a cloth, sponge or brush, and reapplied as often as is necessary to keep your wooden furniture looking good.
4. Denib or sand lightly
If you're using oil, hardwax oil or varnish, once the first coat is dry, you can denib the surface. This is to remove any 'nibs' or imperfections, such as brush strokes from the surface and create a key for the second coat to adhere to.
This can be done with a super fine sandpaper (24-320 grit) or a denibbing pad. Work with the grain and wipe over afterwards with a microfibre cloth to remove the dust created. This process is not necessary if you're using wax.
5. Apply the second coat
Do this in the same way that you applied the first coat, taking care not to overload your brush (or cloth if applying wax).
'Two coats is usually enough with oil, wax or a hardwax oil,' says Ryan at Wood Finishes Direct. 'And two-three for varnish.'
Can you stain over varnished wood without sanding?
'Any top coat will need to be removed, so the new product can penetrate or adhere to the surface,' says Ryan Godden, wood expert at Wood finishes Direct. 'If you don't prepare properly, the end result may not look right.'

Is it hard to refinish furniture?
No, as long as you have the right tools and finishing products, it's a job that can be done in a weekend. Unless you're using a wood oil with a long drying time, then you may need an extra day for the second coat to dry.
Be The First To Know
The Livingetc newsletter is your shortcut to the now and the next in home design. Subscribe today to receive a stunning free 200-page book of the best homes from around the world.
Jacky Parker is a London-based freelance journalist and content creator, specialising in interiors, travel and food. From buying guides and real home case studies to shopping and news pages, she produces a wide range of features for national magazines and SEO content for websites
A long-time contributor to Livingetc, as a member of the team, she regularly reports on the latest trends, speaking to experts and discovering the latest tips. Jacky has also written for other publications such as Homes and Gardens, Ideal Home, Red, Grand Designs, Sunday Times Style and AD, Country Homes and Interiors and ELLE Decoration.
-
 These 12 Best Table Lamps for Your Desk — Perfect Glows for a Creative Home Office
The best table lamps for your desk is have a soft, targeted glow. Elevate your WFH set-up with these stylish picks endorsed by Style Editor Brigid Kennedy
By Brigid Kennedy Published
-
 The Nespresso VertuoPlus is 30% Off for President's Day, and it's Kim Kardashian's Coffee Maker of Choice
This sleek and stylish coffee maker was spotted in Kim's home bar, and you can currently save $60 if you buy yours from Amazon
By Lilith Hudson Published

