This expert’s ‘BRB’ technique is something I'll forever use when painting wall paneling to avoid drips and paint build-up
This expert-approved 5-step guide, complete with a genius application technique, will set you on your way to perfect painted paneling


Painting wall paneling is definitely a DIY-friendly job, but it comes with a few more challenges than a painting a wall. From paint collecting in the grooves to damaging thin composite wood panels through sanding, there's plenty that can go wrong.
Whether you're looking to add some color to your beadboard paneling with a bold paint idea or you want to completely transform your wall with a smooth surface for the finished look, we're here to explain everything you need to know. With the help of some professional painters and decorators, we've compiled this five-step guide to set you on your way, complete with a genius application technique for the best results possible.

Lilith is an expert at following news and trends across the world of interior design. She regularly answers paint-related queries to help readers transform their spaces with a professional-looking finish. For this article, she spoke with paint experts to learn their top tips on painting wall paneling.
1. Sand and prime the paneling

Any good paint job has to start with sanding. Most forms of wall paneling will have a glossy polyurethane finish, so a light sanding is vital to provide some texture for the paint to adhere to. If you’re dealing with a lightweight veneer, make sure you sand lightly and gently as you can run the risk of exposing the fiberboard underneath.
'Once sanded an oil-based primer or a high adhesion latex primer is best or wood that isn't stained' says Anthony Kulikowski, owner of Five Star Painting, a neighborly company. 'The biggest issues we’ve seen over the years is improper, or lack of, preparation. Not sanding and not using the right primer are usually at the top of the list.'
Tila Lee of Pretty in Paint School recommends a shellac primer to prevent tannin from bleeding through your finish coat if your wood is already painted or stained. In such cases, the key is to choose a long-wearing, stain-blocking primer. 'Make sure to check with your local paint store for a primer advisable to your unique situation,' she says.
2. Caulk the seams

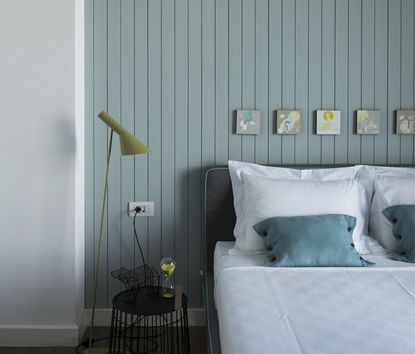
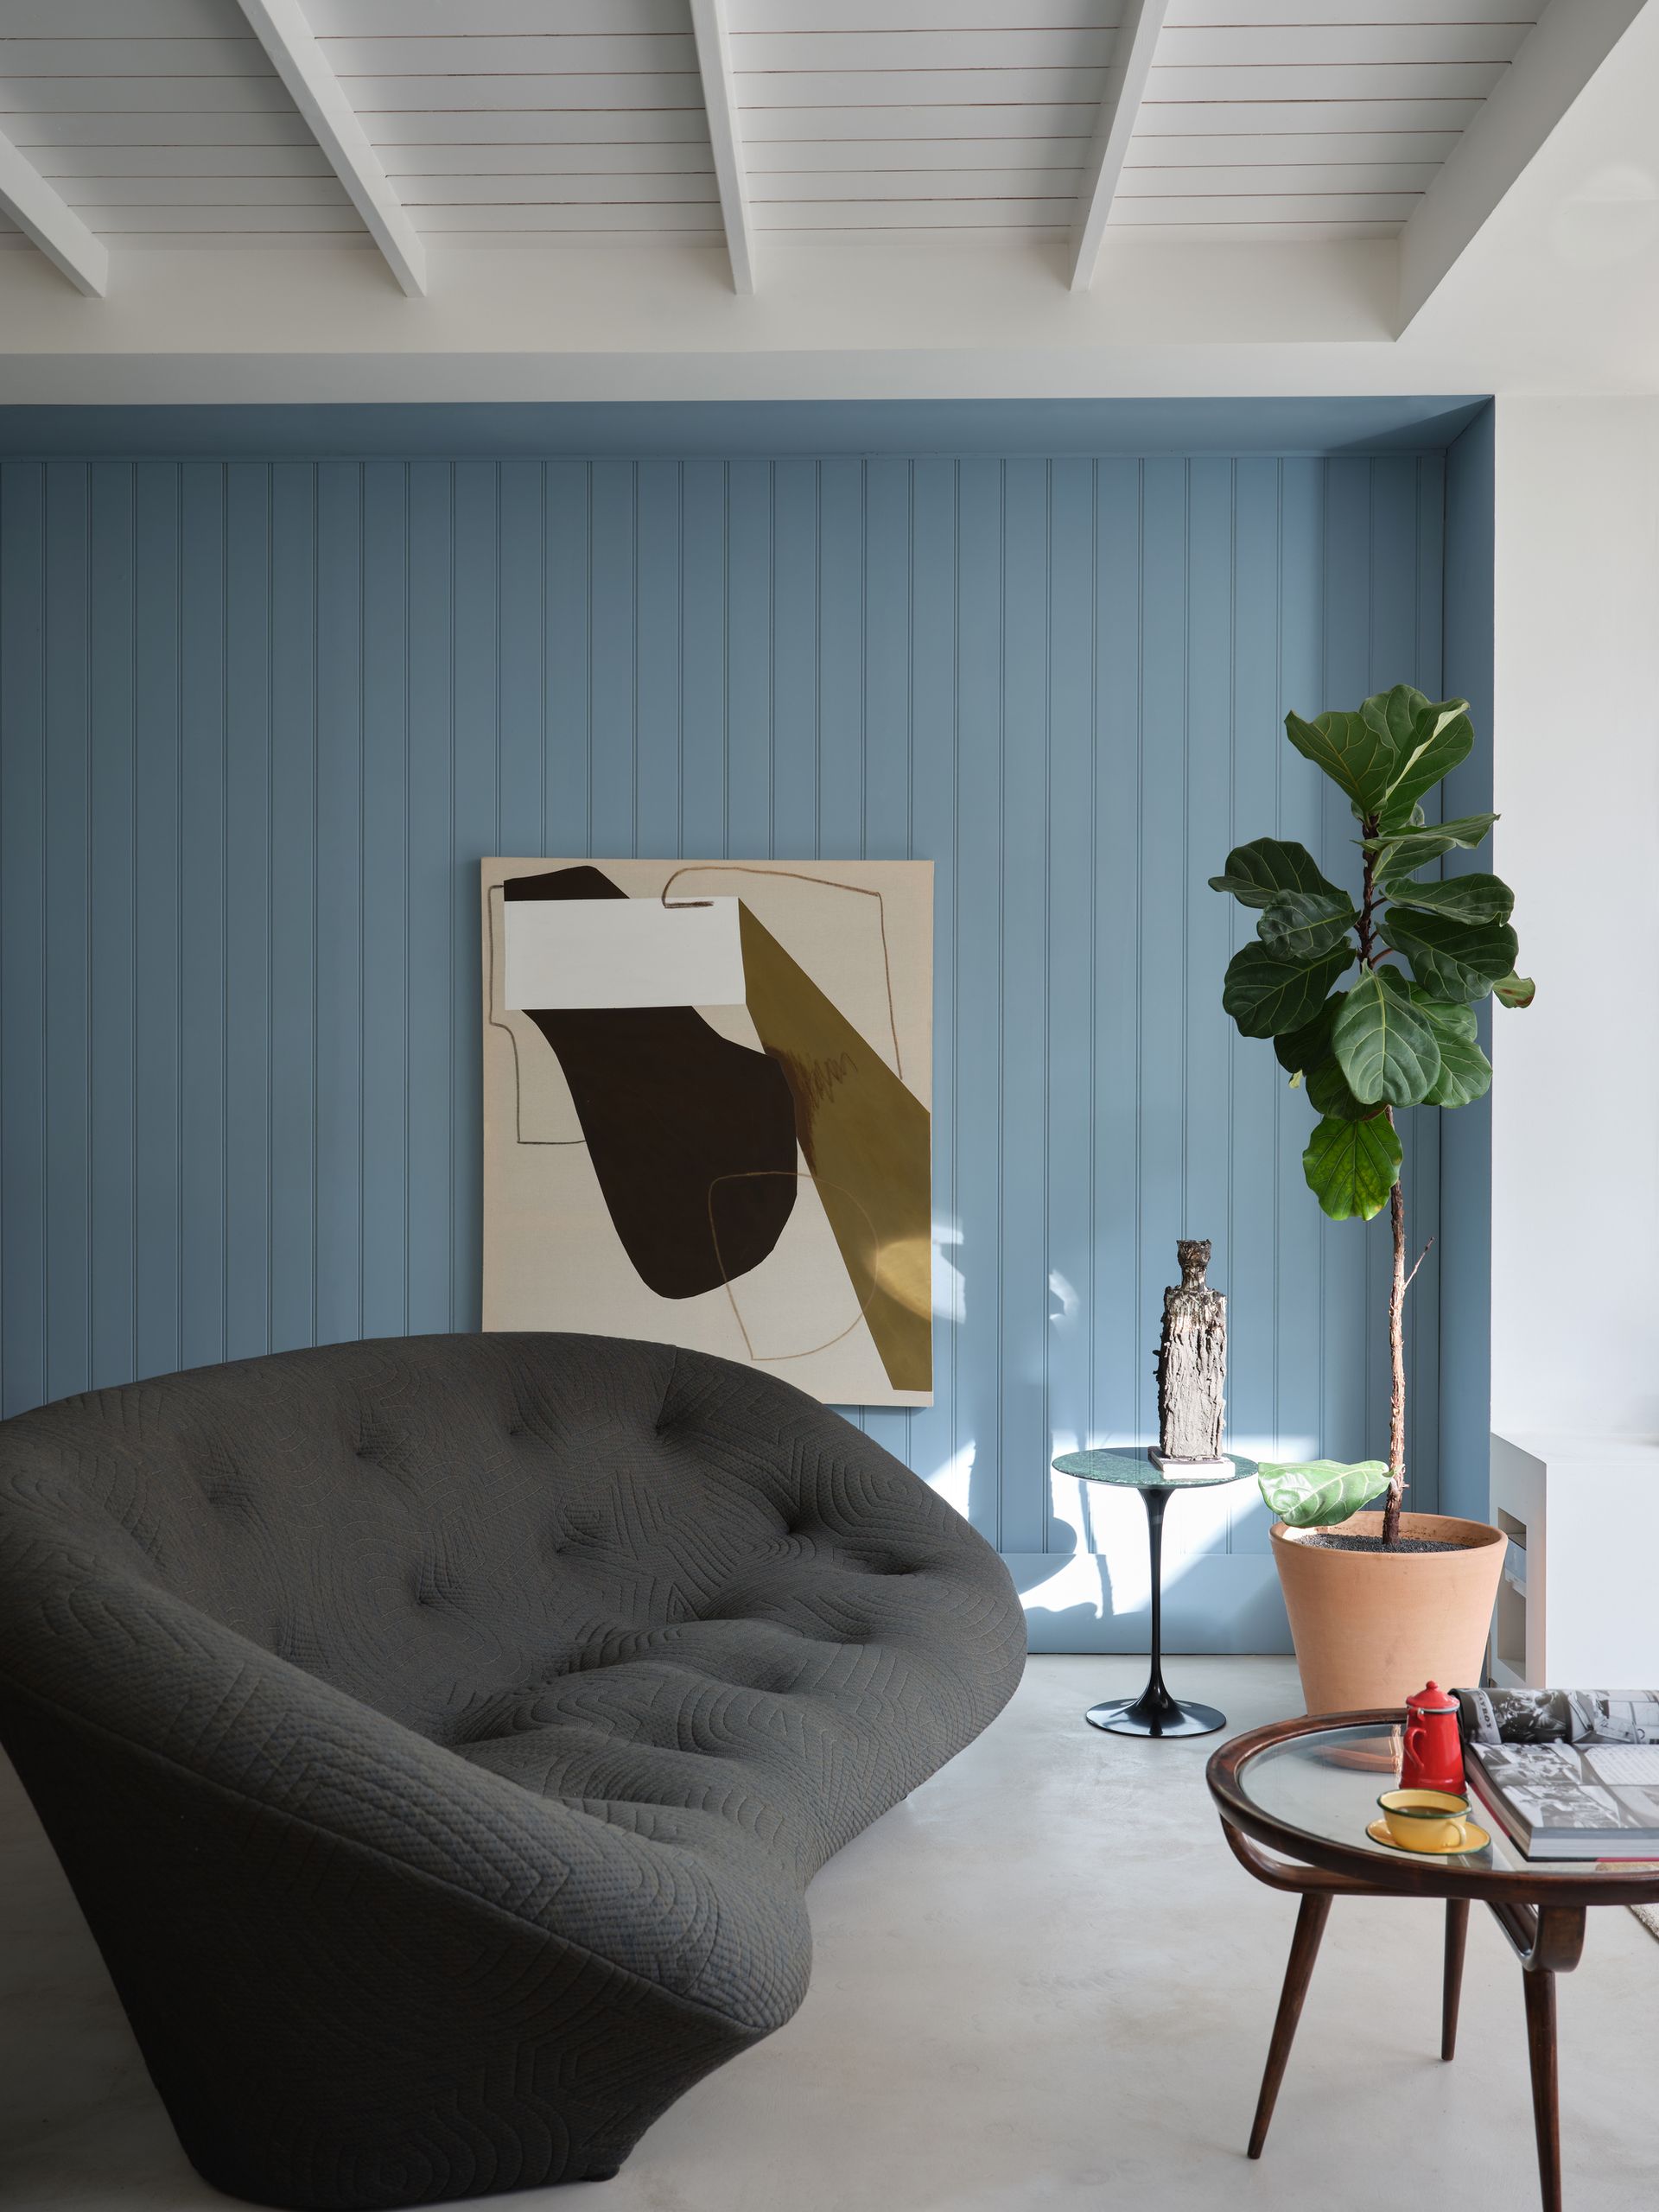
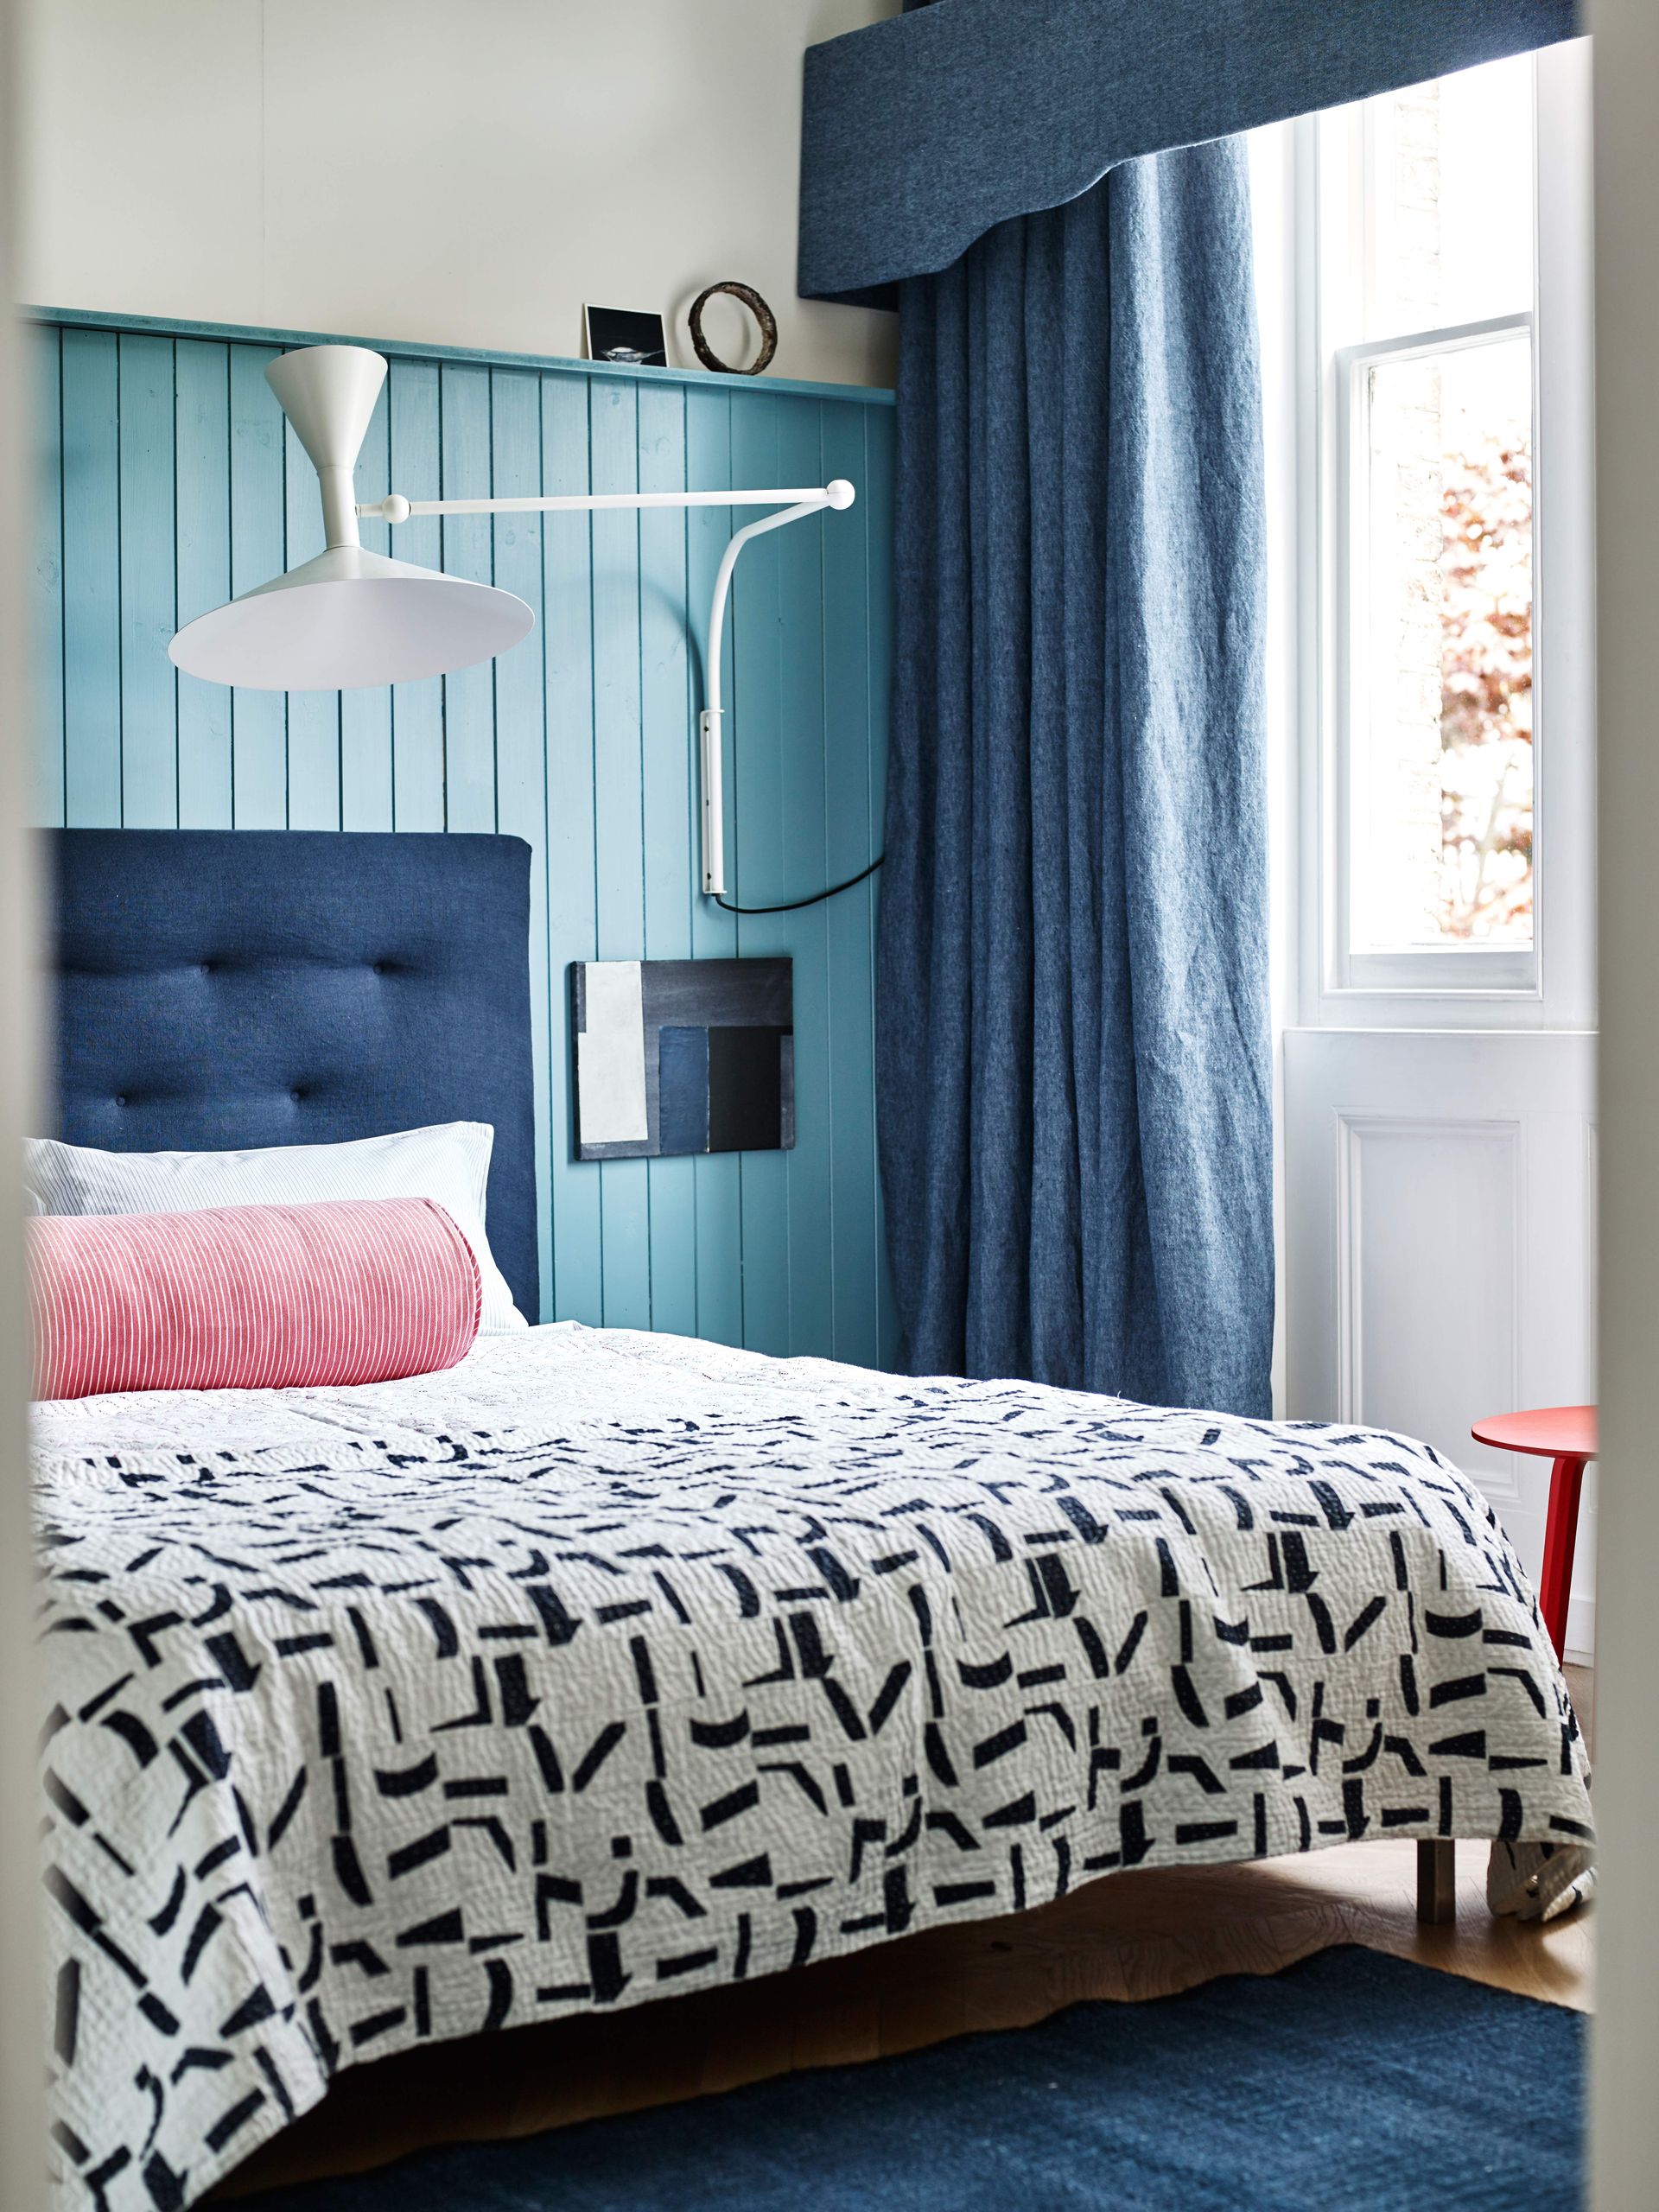
Whether you’re keeping your grooved look for an on-trend shiplap idea or going for a classic Shaker paneling, any seams between panels should be filled in with caulk if you want the best results.
'Depending on how the paneling currently is, this may mean priming first and then caulking,' says Tila. 'If the surface is already painted, you should be able to caulk first and then prime, but it's also advisable to prime after the caulking as well. The overall prep process should be sand, prime, caulk, prime.'
If you want a smooth surface on your walls, you'll want to use spackle to fill in the seams. This is because it's stiffer than caulk but can still be shaped with sandpaper after it dries so you have an even finish.
3. Use the right paint

Once your paneling is dry, it's time to paint. When it comes to how to paint a wall, you always want to start by cutting in first with a paintbrush before moving on to a roller. It's especially important to avoid overloading your brush or roller with paint when decorating paneled walls as it can easily collect in the groves and drip downwards, resulting in an uneven finish.
'I like to use enamel paints as they look similar to a lacquer and have a nice hard finish to help protect your surface from damage,' explains Tila. 'We like to use All-surface Enamel from Sherwin Williams which has a specific type of roller sleeve (mohair) to use with it to help it self-level.'
Two coats are usually recommended but, as Tila explains, if you're covering a very dark color with a light one, you'll need to plan for more.
4. With the right roller
Having the right roller is also crucial when it comes to painting paneling since the grooves will make it difficult to get an even coat. If the grooves in your paneling are especially deep (although caulking should prevent this) it's best to use both a brush and a roller when painting.
'The best roller to use would be a 3/8 inch nap microfiber roller cover to get right into the grooves,' says Anthony. 'This type of roller cover can be used for both the paint and the primer. As for brushes, if using an oil-based primer you’ll need a white china bristle or an ox hair brush.'
5. Follow the 'BRB' application process

For a professional-worthy paint finish, Tila recommends her 'BRB' application, an acronym for 'brush, roll, brush.'
'First, brush in the cuts and corners, then roll the main surface and everything else that makes sense with the roller,' she explains. 'You then go back in with the brush to knock off any buildup that may have happened in the tricky spots like the corners and unique curves.'
This is the best-kept paint trick for paneling, railings, and molding since paint build-up and drips are far more common on these uneven surfaces. Going in with a brush one final time before leaving your wall to dry promises the smoothest results possible and only takes a few extra minutes. All that's left to do is stand back and appreciate your expertly painted paneling before the real fun starts - styling your newly decorated space!
Essentials kit for painting wall-paneling

This paint brush from Purdy, available at Amazon, is has super soft and fine bristles to reach into every crevice and result in a smooth paint finish. This three inch is currently on sale, so grab one quick!

This pack of three 3/8 inch microfiber roller covers from The Home Depot is ideal for getting the perfect coverage while painting paneling. They pick up and release three times more paint than a standard roller for an easy transfer.

There's a reason Zinsser's B-I-N shellac-base primer is an industry favorite. This all-in-one primer, sealer and stain-killer adheres to any surface, making it perfect for glossy wall paneling to help make your color pop and prolong its life.
Be The First To Know
The Livingetc newsletter is your shortcut to the now and the next in home design. Subscribe today to receive a stunning free 200-page book of the best homes from around the world.

Lilith Hudson is the News Editor at Livingetc, and an expert at decoding trends and reporting on them as they happen. Writing news, features, and explainers for our digital platform, she's the go-to person for all the latest micro-trends, interior hacks, and color inspiration you need in your home. Lilith discovered a love for lifestyle journalism during her BA in English and Philosophy at the University of Nottingham where she spent more time writing for her student magazine than she did studying. After graduating, she decided to take things a step further and now holds an MA in Magazine Journalism from City, University of London, with previous experience at the Saturday Times Magazine, Evening Standard, DJ Mag, and The Simple Things Magazine. At weekends you'll find her renovating a tiny one-up, one-down annex next to her Dad's holiday cottage in the Derbyshire dales where she applies all the latest design ideas she's picked up through the week.
-
 The 12 Best Table Lamps for Reading —I'm a Certified Bookworm (and Shopping Expert)
When it comes to table lamps for reading, I don't mess around. If you're the same, this edit is for YOU (and your books, or course — and good recommendations?)
By Brigid Kennedy Published
-
 "It's Scandi Meets Californian-Cool" — The New Anthro Collab With Katie Hodges Hits Just the Right Style Note
The LA-based interior designer merges coastal cool with Scandinavian simplicity for a delightfully lived-in collection of elevated home furnishings
By Julia Demer Published

